When your office desk accessories finally match your actual workspace dimensions (not just your Pinterest board), you unlock the real benefits of custom desk items. That's why I always say: Start with a fit map; buying gets calmer and cleaner. Forget generic "small/medium/large" labels that cause return fatigue. True personalization begins with your actual desk depth, wall clearance, and future monitor plans (not just aesthetics). After seeing countless creators burn cash on misfit gear, I've mapped the exact measurement protocols that transform personalized office supplies from clutter risks into precision tools.
Why Measurement Matters More Than Style for Personalized Workspace Setup
Safe zones save returns.
That mic arm mishap I mentioned? It wasted weeks of productivity while I waited for a replacement. A University of Exeter study confirms my experience: employees who control their workspace layout are 32% more productive, but only when the setup actually fits. Style without dimensional awareness creates visual harmony but functional chaos. Your dream personalized workspace must navigate:
- Physical constraints: Desk depth, wall clearance, crossbar interference
- Workflow geometry: Viewing distance, arm reach, cable paths
- Future-proofing: Monitor upgrades, standing desk transitions
Without plain-language measurements, "personalized" just means "pretty but impractical."
How to Create Your Desk's "Fit Map" in 4 Steps
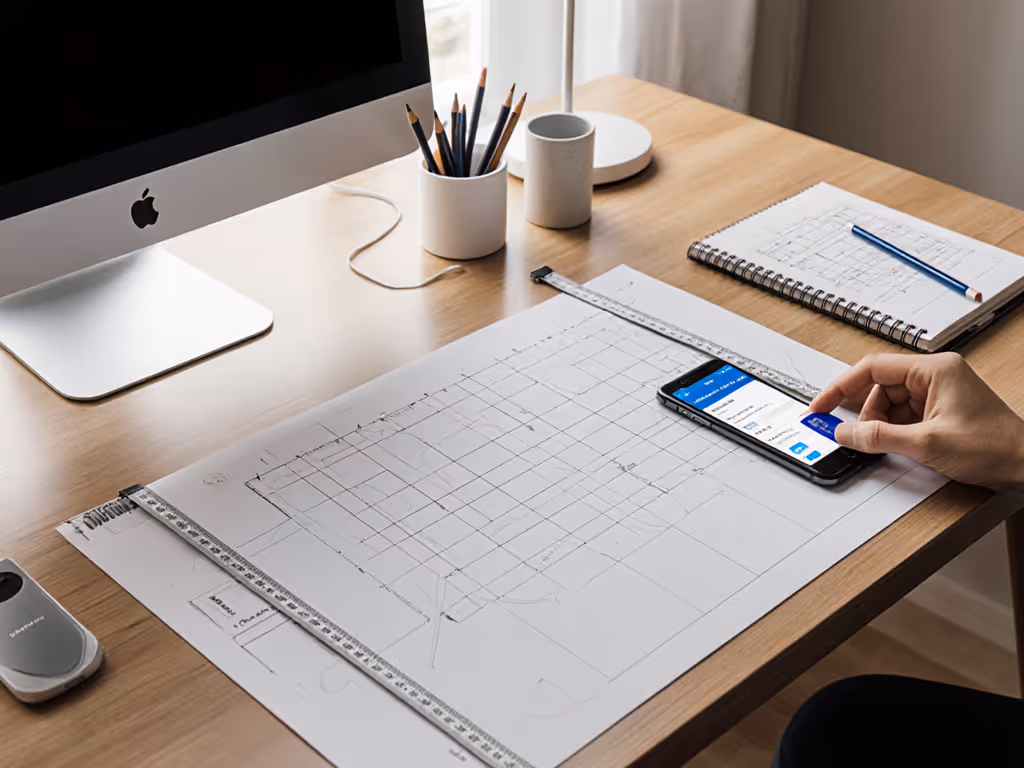
Step 1: Capture Critical Dimensions (No Tape Measure? Use Credit Card Hack)
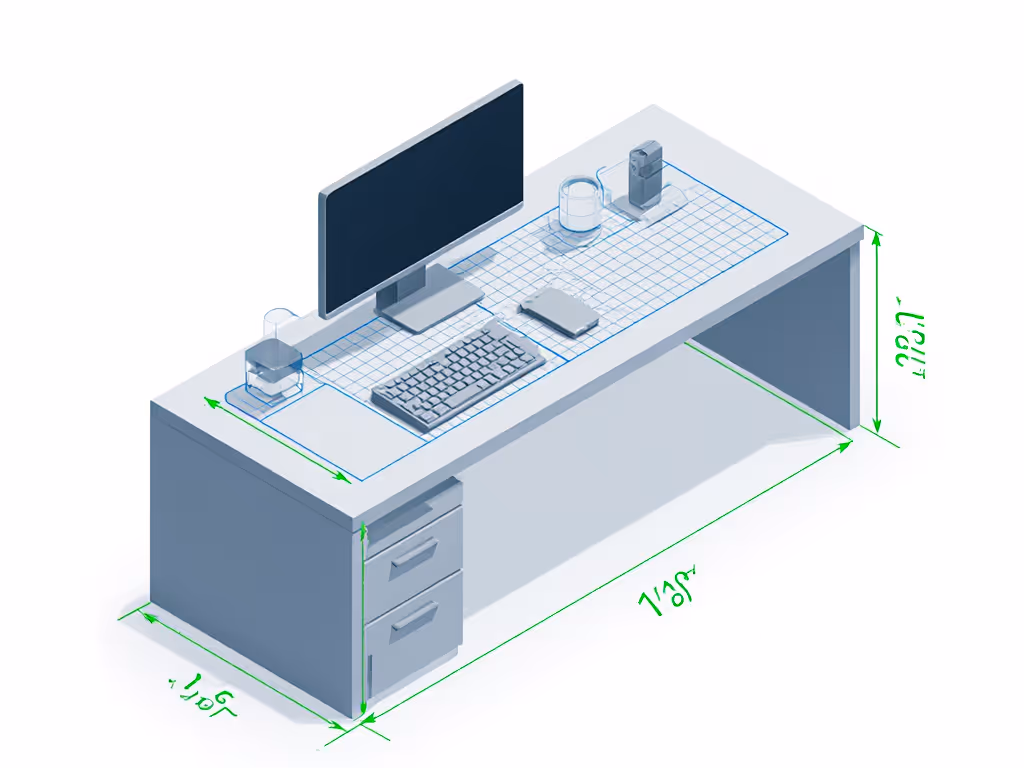
Most buyers skip which measurements matter. Track these four:
- Clear desk depth (front to wall after monitors are placed)
- Desk thickness (critical for clamp mounts)
- Crossbar clearance (many monitor arms need 2 inches or more)
- Active zone width (where hands/keyboard live)
Tip: Place a credit card (3.375" × 2.125") upright against your desk edge. Count cards to estimate depth within 5% accuracy, no tools needed for starter maps.
Step 2: Define Your Safe Zones
These non-negotiable areas prevent future collisions:
- Clamp zone: Minimum 3 inches of depth beyond the monitor footprint (for mic arms)
- Cable corridor: 4 inches of width along left/right edges (hidden routing) For routing strategies and dimension-checked picks, see our cable management systems guide.
- Ergonomic bubble: 24 inch radius from eyes to monitor (prevents neck strain)
One streamer avoided $90 in returns by marking safe zones with washi tape before buying his desk lamp. Renters especially need this, since no-drill options only work if positioned correctly.
Step 3: Stress-Test Against Your Workflow
"Does it fit?" is the wrong question. Ask: "Does it function during my actual work?" Simulate:
- Reaching for your notebook while standing
- Swiveling chair to whiteboard
- Adding a third monitor during crunch week
A designer rescued her flimsy acrylic name plate (measuring 7.9" × 2.4") by placing it in the corner clearance zone, away from keyboard wrist rebounds. This simple adjustment turned a potential hazard into a functional identity marker.
Step 4: Build Your Upgrade Path
Your desk office accessories should evolve with you. Note:
- "Phase 1": Current desk size (e.g., 48" × 24")
- "Phase 2": Standing desk conversion (adds 2 inch depth loss)
- "Phase 3": Ultrawide monitor (requires an extra 6 inches of arm reach)
When that World Map mouse pad (31.5" × 11.8") arrived for my test desk, I checked if it cleared my Phase 2 standing position. It didn't, so I recommended the compact 24" version instead. Upgrade notes prevent replacement cycles.
Why "Cheap Desk Organizers" Often Cost More Long-Term
The $15 bamboo rotating organizer looks perfect... until you measure. Most fail because:
| Failure Point | Measurement Trap | Cost of Fix |
|---|
| Drawer clearance | Unit height > 5.5" | $28 return shipping |
| Cable access | No rear cutouts | $45 cable management kit |
| Monitor stability | Base width < 22" | $120 new mount |
That "bargain" organizer often triggers a $150+ cascade of fixes. True value = footprint match + future-proofing. Measure your organizer zone before shopping.
Your Personalization Checklist: Before You Click "Buy"
Cross-check every personalized office supplies purchase against:
This bamboo desk caddy (measuring 7.87 in deep × 7.87 in wide) passed my test because its rotating base stayed within the 8 inch safe zone, even when fully loaded with markers. Most fail by ignoring rotational footprint.
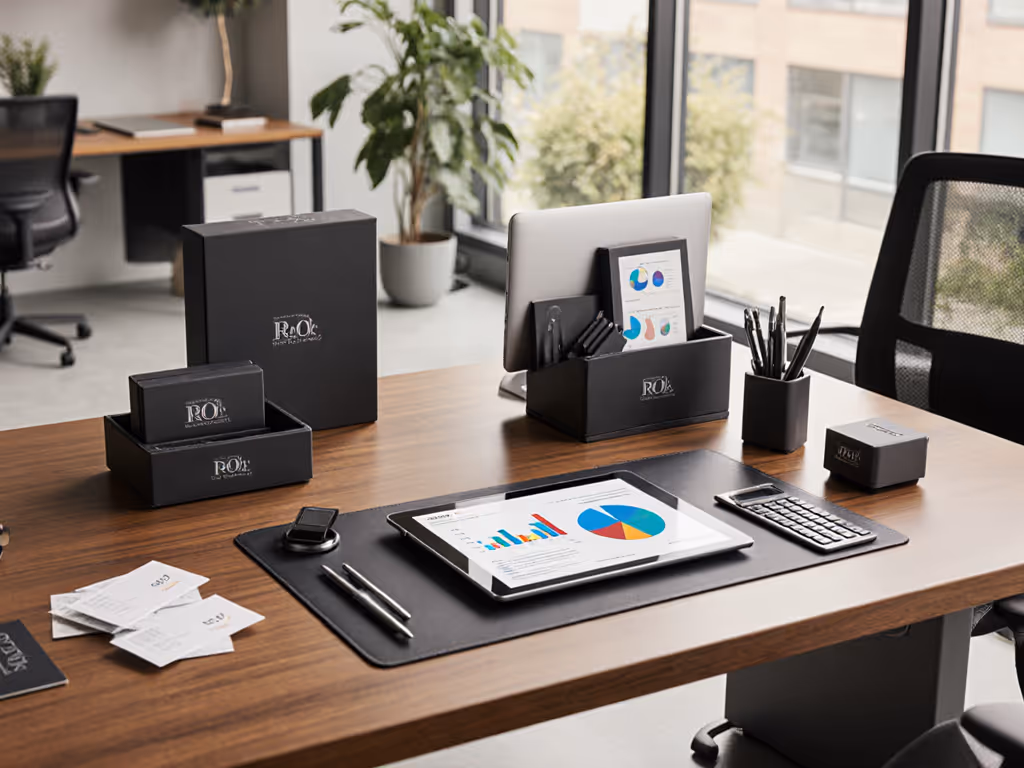
Final Reality Check: When Personalization Shouldn't Happen
Not every item needs customization. Avoid personalizing:
- High-movement items (mouse, keyboard)
- Thermal-sensitive gear (laptop stands near vents)
- Renter-risk zones (wall-mounted anything requiring adhesives)
Focus personalization where it delivers ROI: identity markers (name plates), workflow anchors (desk organizers), and future-proof foundations (monitor mounts). A red metal book stand? Perfect, if it fits your reference-material safe zone.
Your Next Step: Measure Before You Personalize
Your ideal personalized office supplies aren't just pretty, they are dimensionally precise. Grab that credit card, map your desk's true constraints, and define those critical safe zones. You'll spend less time returning misfits and more time in flow state.