Disability-Friendly Desk Accessories Guide
By Aisha Karim • 10th Oct
When optimizing your workspace, the most overlooked element isn't what you buy, it's whether your desk accessories setup respects your body's natural geometry. True desk office accessories solve spatial conflicts through measurable clearances, not just features. As a non-clinical ergonomics facilitator, I've seen countless people chase expensive "adaptive" gadgets while missing the foundational reality: comfort emerges when clearances match your natural reach arcs. This step-by-step guide transforms abstract accessibility standards into tangible adjustments you can feel today (no medical claims, just dimensional precision).
Why Standard Accessories Fail Disabled Users (The Collision Zone)
Most desk accessories assume a standardized body and desk geometry. But when your knees clear only 24" from the floor, a standard 30"-deep desk traps your legs. When your seated height requires a 26"-high worksurface, a fixed-height monitor arm forces neck strain. These aren't disabilities, they're dimensional mismatches.
I once chased wrist pain with premium ergonomic keyboards, only to discover my center drawer collided with my tray at 28" depth. After mapping my reach arcs and knee clearance, a 22"-deep tray resolved it instantly. Ergonomics isn't about "adaptive" labels, it's about your measurements aligning with your workflow.
🔍 Clearance Checklist: Your First Diagnostic Tool
Before buying anything, measure these critical zones:
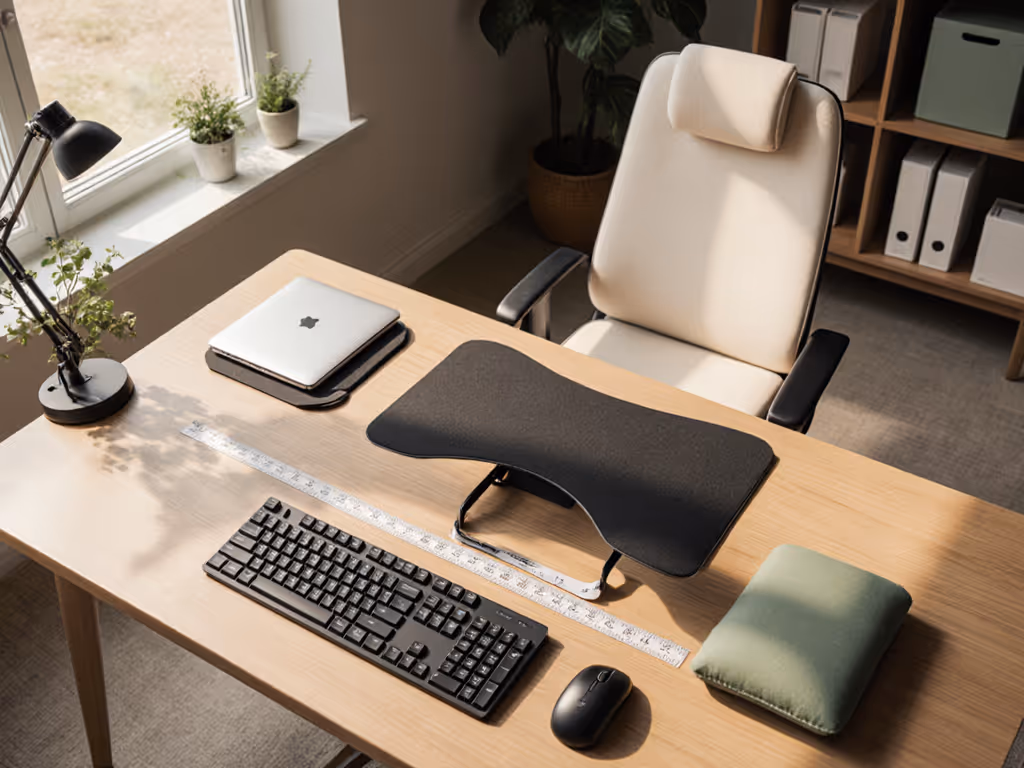
- Knee-to-Desk Clearance: Sit fully in your chair. Slide a tape measure vertically from floor to desk underside at your knee level. Minimum functional clearance: 24" (27"+ ideal for wheelchair users).
- Risk note: If <24", standard keyboard trays cause thigh pressure. Look for trays with <2" profile depth.
-
Monitor Reach Arc: Extend arms fully toward screen. Your elbows should form 90°-110° bends. If hands reach past the monitor, your viewing distance is too short, causing eye strain even with "accessible" arms.
-
Drawer Collision Check: Open your deepest drawer fully. Measure horizontal distance from drawer front to keyboard position. If <3", your tray will collide during typing.
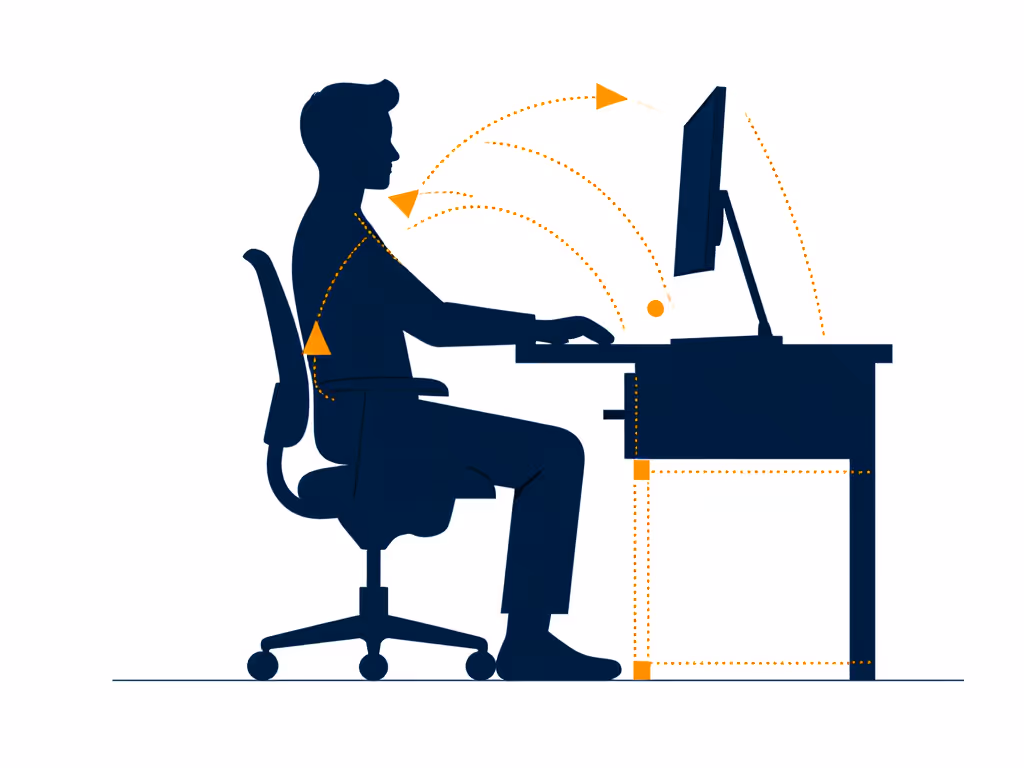
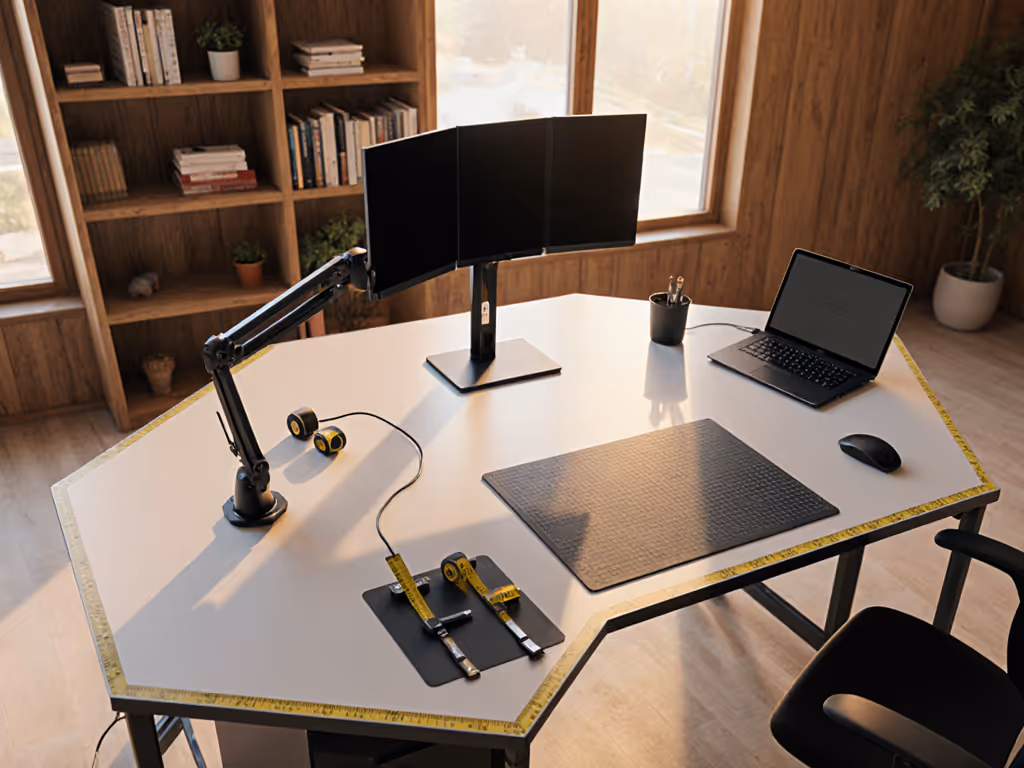
Step 1: Map Your Personal Workspace Triangle
Your neutral posture depends on three fixed points: eyes, hands, and seated hips. Accessories must fit within these arcs, not force you to contort.
✅ Action: Create Your Dimension Card
Grab a notepad. Record:
- Hip Height: Seat height from floor (e.g., 18")
- Elbow Height: When 90° bent, hand resting on lap (e.g., 10")
- Eye Level: Distance from seat to pupil (e.g., 24")
This becomes your non-negotiable framework. Any accessory violating these numbers increases strain.
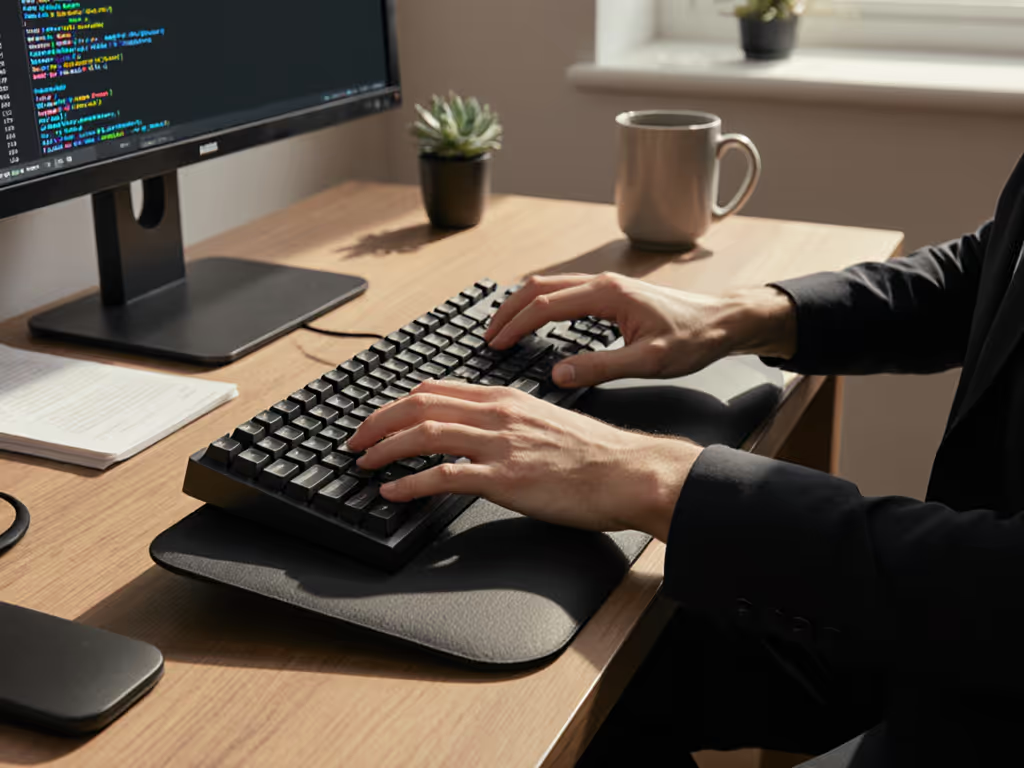
Step 2: Solve Keyboard Collisions (The Silent Productivity Killer)
Posture follows dimensions.
Many "ergonomic for disabilities" trays fail because they ignore drawer depth and tray thickness. A 4"-thick tray obliterates knee clearance on shallow desks. Instead:
- For wheelchair users: Prioritize trays with zero profile (fully recessed under desk). Measure your chair's crossbar height, if it's 26", your tray's total height (desk + tray) must be ≤26" to avoid leg contact.
- For seated users with drawer conflicts: Use low-profile trays ≤1.5" thick. Example: A 22"-deep desk with 3" drawer clearance needs a tray ≤2.5" depth to avoid collision. Test with cardboard first: cut a 22"x2.5" mockup.
Supporting evidence: ADA-compliant workstations require 27" knee clearance depth, but 70% of home desks are 24" deep (per 2024 Workplace Analytics Report). Your accessories must bridge that gap.
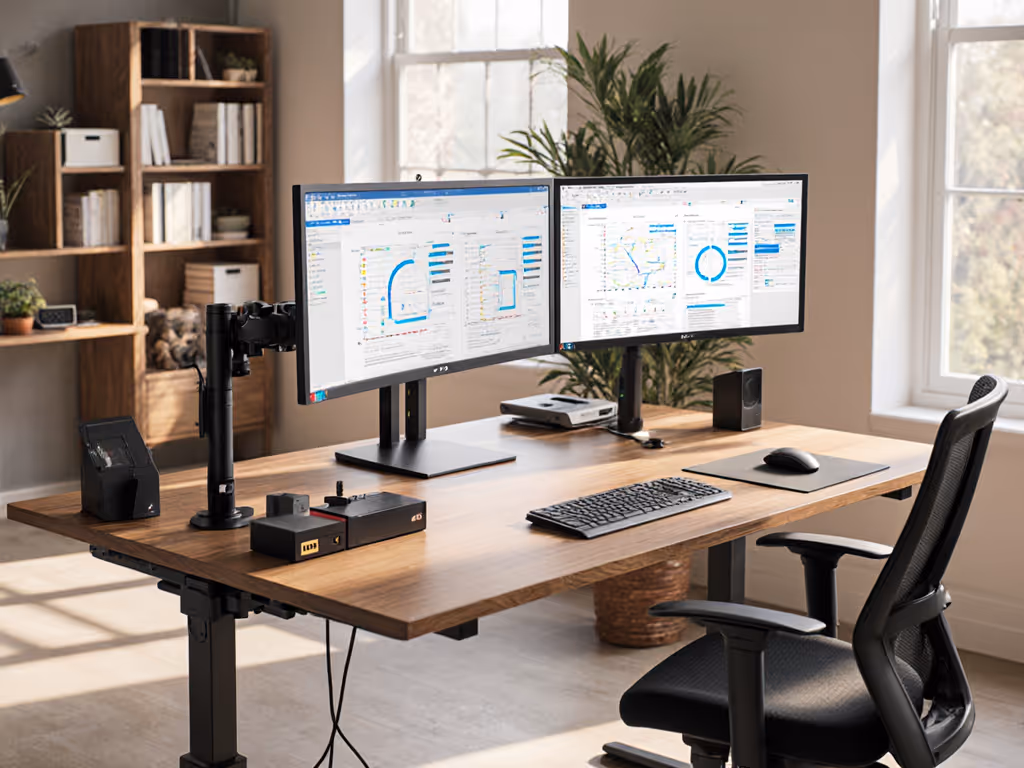
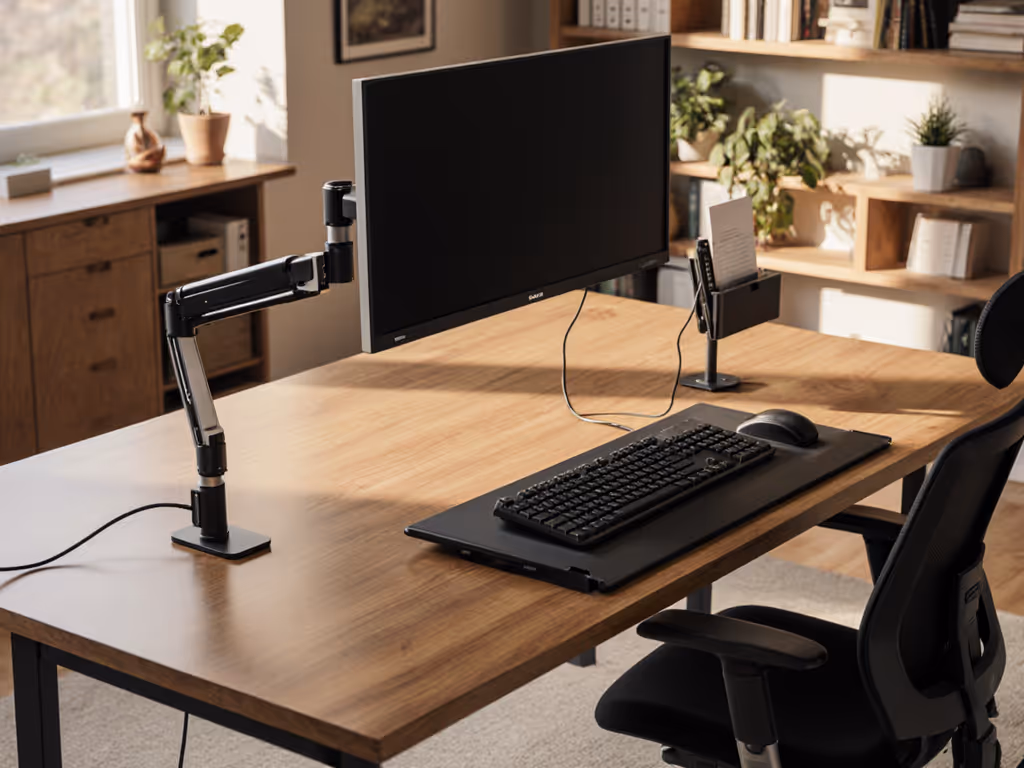
Step 3: Adaptive Monitor Arms That Actually Fit
"Accessible workspace setup" often means monitor arms that accommodate limited arm mobility. But arms with short reach force you to crane forward. Solution:
- Calculate your reach arc: Your seated eye level (e.g., 24") + monitor height (e.g., 16") = 40" total viewing height. If your desk is 28" high, you need 12" of vertical lift, but standard arms offer only 8".
- Prioritize arms with documented travel range: Look for arms advertising ≥15" vertical lift and ≥20" horizontal reach. Example: Height-adjustable arms allowing 22"-45" total height (like certain medical-grade sit-stand tables) accommodate both seated and standing transitions without straining shoulders.
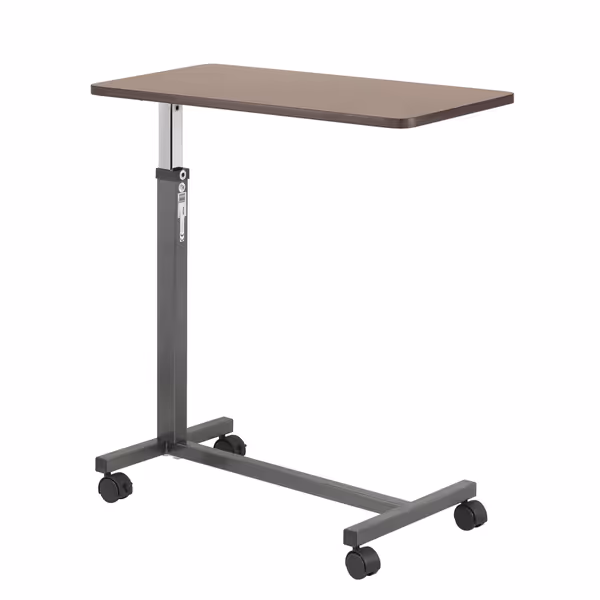
Drive Medical Overbed Table
Adjustable rolling table for convenient use over bed or chair.
$49.99
Height Adjustment28" to 45"
Height Adjustment28" to 45"
Pros
Securely locks at desired height.
Easy to assemble and sturdy construction.
Cons
Height adjustment mechanism can be inconsistent.
Customers find the overbed table to be of good quality, sturdy, and easy to assemble, offering good value for money and working well for its intended purpose. The height adjustment and rollability receive mixed feedback - while some say it's easy to adjust and rolls around with ease, others report issues with the height adjustment breaking and difficulty moving it on carpet.
Customers find the overbed table to be of good quality, sturdy, and easy to assemble, offering good value for money and working well for its intended purpose. The height adjustment and rollability receive mixed feedback - while some say it's easy to adjust and rolls around with ease, others report issues with the height adjustment breaking and difficulty moving it on carpet.
Contextual note: When evaluating products like the Drive Medical Overbed Table (which offers infinite height adjustment between 28"-45"), anchor specs to your dimension card. If your seated eye level is 24", this table's minimum height (28") may still require a monitor riser, proving no single product is universally "adaptive." For choosing a height solution that fits your dimensions, see our monitor stand vs shelf riser comparison.
Step 4: Document Holders & Adaptive Tech Without Workflow Collisions
Many office aids for mobility issues mount on monitors, forcing you to turn your head. Instead:
- Position documents at eye level: Use a clip-on holder centered between keyboard and monitor. Your neck shouldn't rotate >15° to view it. Test: Hold a document where you'd place it. Can you read it without moving your chin off your sternum?
- For limited hand mobility: Opt for vertical mice only if your elbow clearance supports 90° shoulder elevation. If your chair arms block upward movement, a trackball on a pull-out tray (≤1" profile) prevents shoulder shrugging.
🚫 Critical Avoidance
Don't buy "adaptive technology desk" accessories based on features alone. A voice-control mouse is useless if your desk's cable management traps its dongle behind a monitor arm. Measure all component thicknesses before purchasing.
Step 5: Renter-Friendly Power & Cable Routing
Rental constraints often sabotage accessible setups. Drilling is off-limits, but adhesive mounts damage surfaces. Your fix:
- Use grommet-style cable trays that clip into desk holes (common in IKEA desks).
- Route power strips under trays using slim-profile adhesive hooks (≤0.5" thick).
- Never let cables exceed 10% of your knee clearance depth (e.g., if clearance is 25", cables/trays must be ≤2.5" thick).
This isn't DIY hackery, it's dimensional hygiene. Every extra 0.5" in cable bulk steals precious knee space.
Your Actionable Next Step: The 10-Minute Clearance Audit
Don't buy another accessory until you've completed this:
- Grab a tape measure and record your dimension card (Step 1).
- Test reach arcs with cardboard cutouts of proposed trays/arms.
- Check for collisions by opening drawers/chairs to maximum extension.
True accessibility isn't about special products, it's about your dimensions dictating the product. When clearances align with your body's arcs, productivity follows. Comfort isn't a luxury; it's measurable clearance.
Posture follows dimensions.
Related Articles