Modular Hexagon Desk Setup: Ergonomic Fit Guide
By Diego Martins • 9th Jan
When exploring hexagon desk setup options that maximize small-space efficiency, you quickly realize ergonomic workspaces demand more than just slapping monitors on a six-sided frame. The unconventional geometry creates unique fit challenges that can derail your entire workflow if clearance tolerances aren't measured to the millimeter. After years of tracking return-risk ratings across hundreds of desk configurations, I've learned that value equals fit, lifespan, and modularity, not just sale price. Let's dissect how to build a scalable hex setup that grows with your needs while avoiding costly misfits.
Why Go Hexagon? Beyond the Aesthetic Appeal
Six-sided desks solve real spatial constraints many remote workers face in urban apartments and shared living spaces. The 120-degree angles create natural workflow zones that conventional rectangles can't match, but only when executed with precise tolerance notes. Unlike rectangular desks that force linear arrangements, hexagons let you position monitors at optimal viewing angles without craning your neck. However, this unconventional workspace design introduces three critical variables:
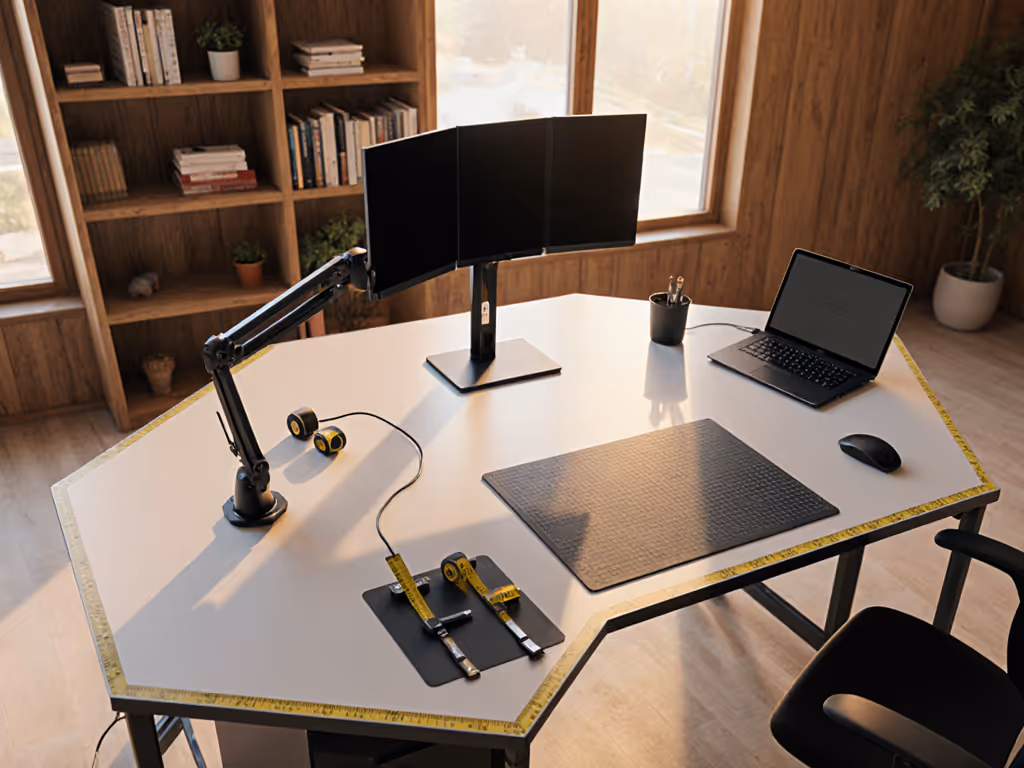
- Corner interference - Monitor arms and cable trays must clear the 60-degree internal angles
- Leg space distribution - Your chair movement must accommodate non-right angles
- Surface continuity - Keyboard trays and desk mats require curvature adjustments For routing options that fit tight angles, see our cable management systems comparison.
Check clearance before checkout. Those three millimeters that killed my first sit-stand desk setup now drive my entire fit-per-dollar scoring methodology.
Ergonomic Hexagon Layout: The Measurement-First Approach
Forget aesthetics until you've validated these ergonomic fundamentals against your specific hexagon desk dimensions:
1. Primary Work Triangle Verification
Your monitor, keyboard, and mouse must form a stable ergonomic triangle that accommodates the hexagon's angles. Conduct this measurement check before buying a single accessory:
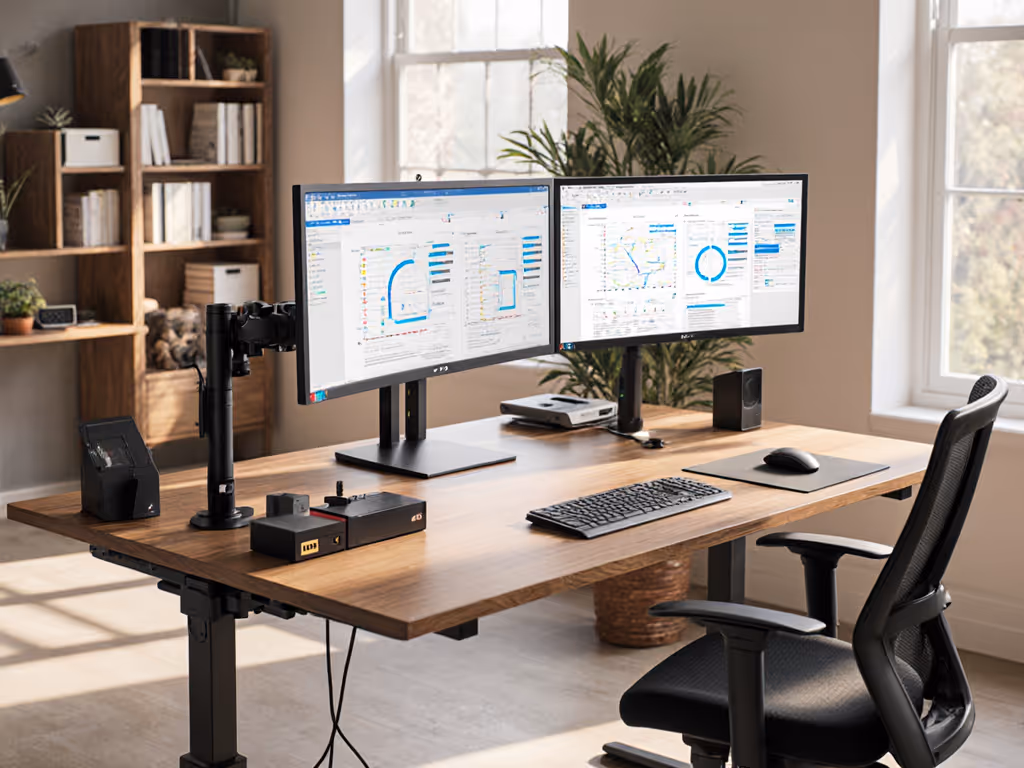
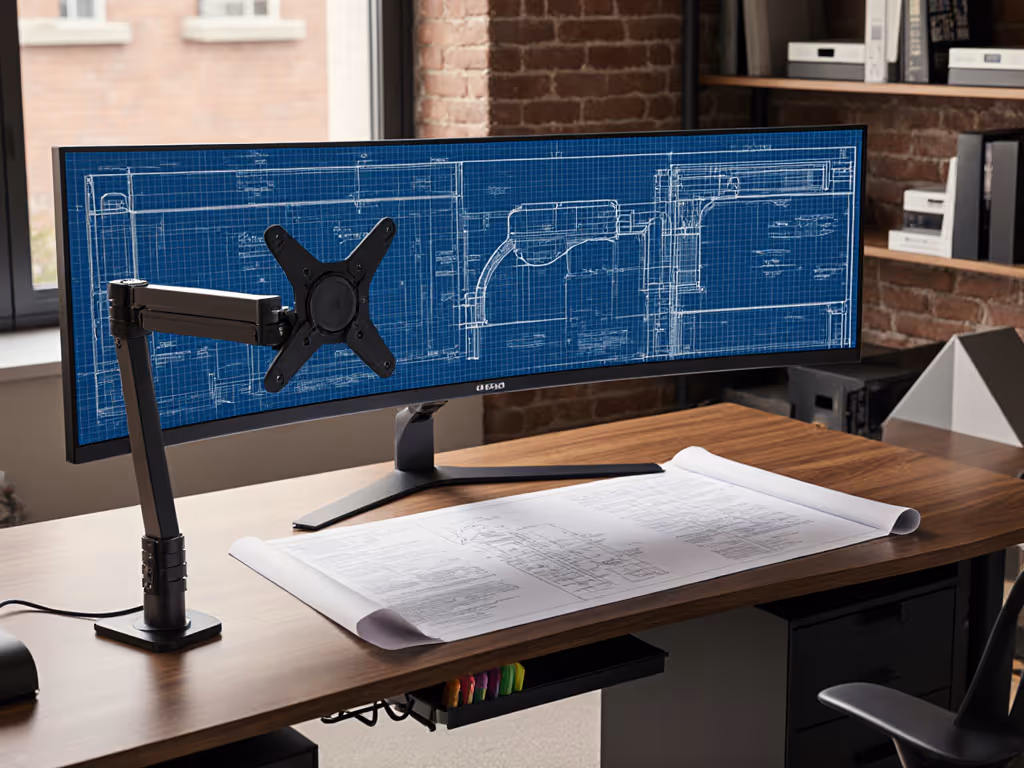
- Monitor height validation: Top edge must sit at or slightly below eye level when seated (typically 22-28" from desktop) — if you need elevation, compare monitor stands vs shelf risers for the most ergonomic lift.
- Keyboard/mouse positioning: Elbows must maintain 90-degree bend at the center working position, not just at the desk edge
- Viewing distance: Minimum 20" for 24" screens, increasing 1.5" per additional inch of diagonal screen size
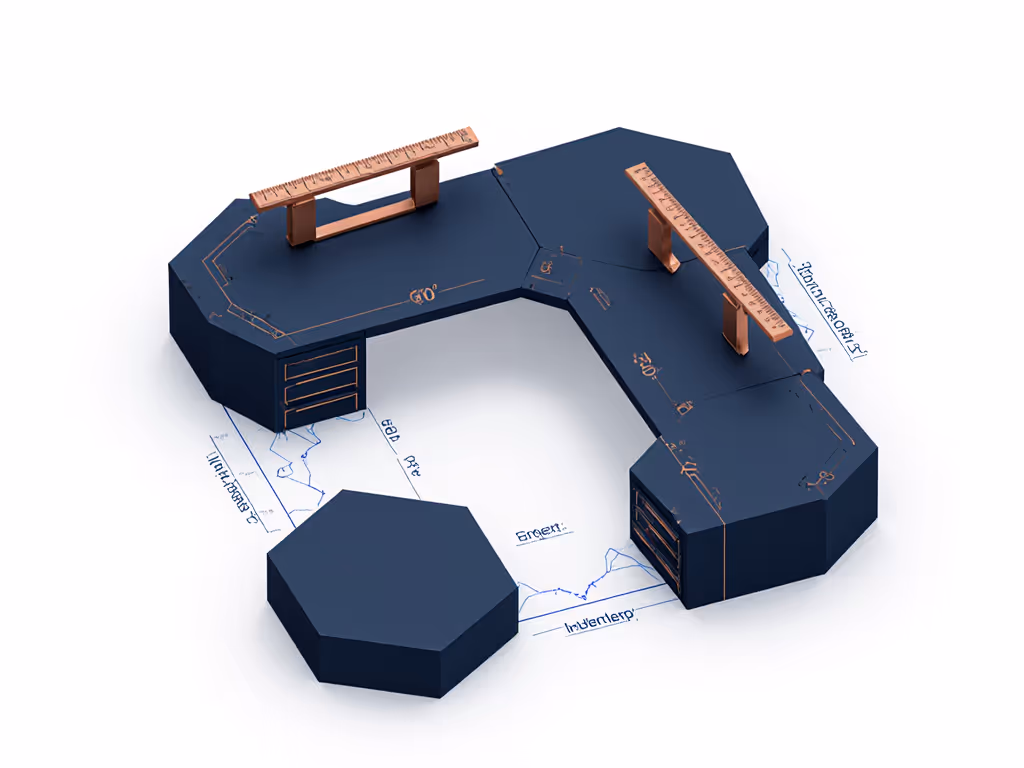
2. Corner Clearance Mapping
Most hexagon desk failures occur because standard accessories hit internal corners. Create a clearance map using your desk's vertex measurements:
| Accessory Type | Minimum Clearance Needed | Fit Risk Level |
|---|---|---|
| Dual-monitor arm | 2.5" from vertex | High (requires 15°+ offset) |
| Drawer desk organizer | 1.25" from edge | Medium (requires rounded corners) |
| Cable management tray | 0.75" from edge | Low (if flexible mounting) |
The higher your price brackets climb, the more critical these tolerance notes become, since premium gear often has bulkier mounting hardware that increases collision risk.
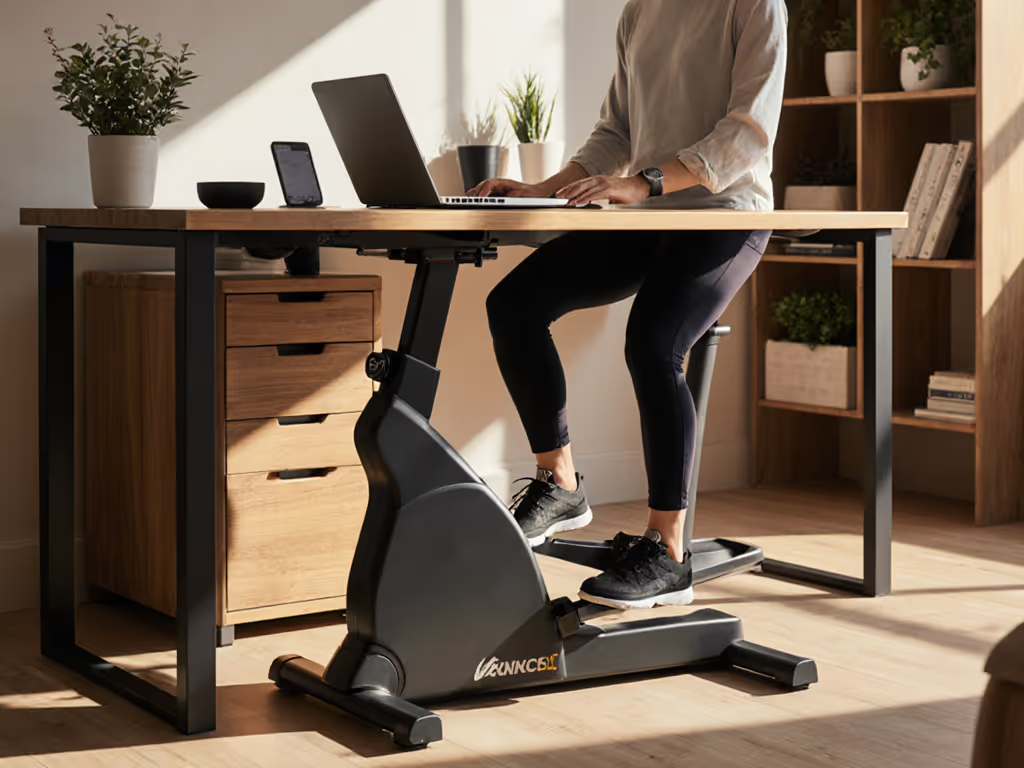
3. Standing Desk Integration Points
If using a sit-stand base with your hexagon desk, verify these often-overlooked clearance zones:
- Crossbar-to-corner distance (typically 4-6" on hex desks vs 8-12" on rectangles)
- Motor clearance at transition points between seated/standing
- Cable routing paths through non-standard leg configurations If you're choosing a base, our premium vs budget standing desks article explains where higher cost actually improves stability and fit.
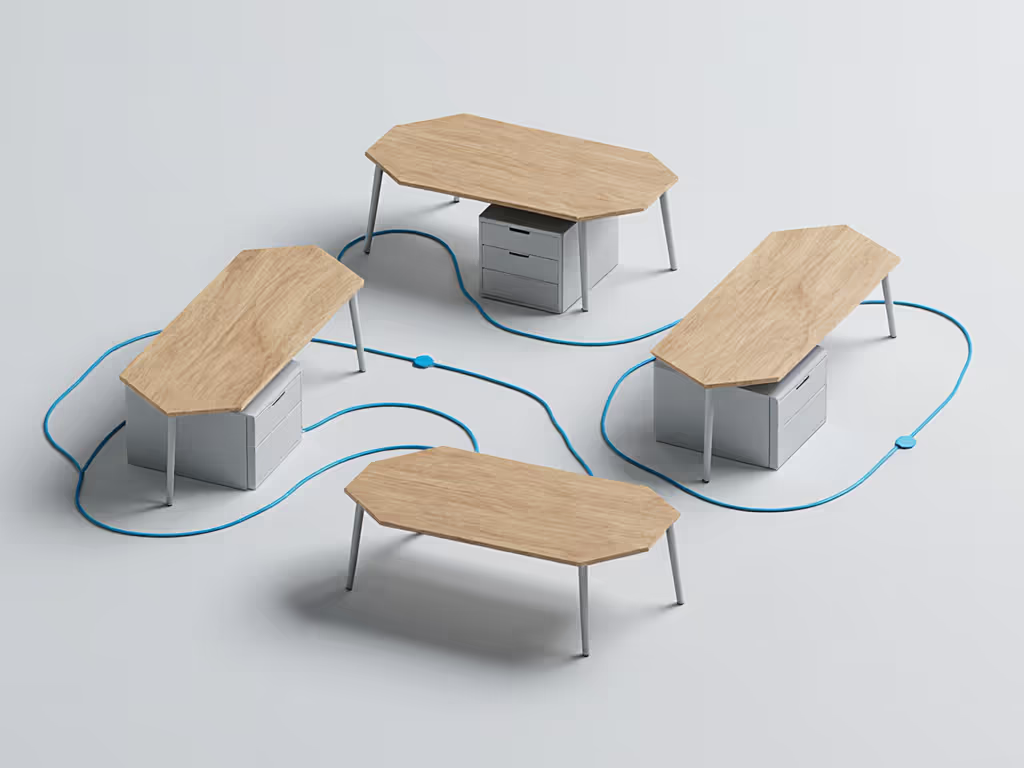
The Modular Upgrade Path: Planning Beyond Your Current Gear
A true hexagon desk setup earns its keep through strategic modularity. Track these upgrade path flags as you build:
Future-Proofing Your Six-Sided Foundation
- Monitor expansion planning
- Calculate required vertex clearance for additional screens before your first purchase
- Budget for arms with 15-20° additional tilt range beyond current needs
- Verify weight ratings accommodate future ultrawide upgrades (minimum +20% headroom)
- Power and cable ecosystem design
- Install conduit channels along all edges, not just current workstation zones
- Use standardized cable ties at 6" intervals for future add-ons To simplify power and connectivity in one unit, compare smart desk hubs sized for compact worktops.
- Position power strips toward rear vertices to avoid front-edge visual clutter
- Drawer desk organizer integration
- Choose modular systems with 0.5" incremental height adjustments
- Verify compatibility with both desk surface thickness and corner radius
- Prioritize units with magnetic attachment to eliminate adhesive damage
Return Risk Reduction: Your Fit Verification Checklist
Before finalizing any hexagon desk accessory purchase, run this tolerance validation process:
- Physical mock-up testing
- Cut cardboard templates at exact accessory dimensions
- Test all movement ranges (standing transitions, arm adjustments)
- Verify clearance at both seated and standing positions
- Specification cross-check
- Compare manufacturer specs against actual measurements (brand variance often 3-5%)
- Confirm VESA pattern compatibility with your monitor's mounting plate
- Validate weight ratings with your total loaded configuration
- Renter-safe mounting verification
- Test clamp systems on desk edge thickness matching your actual desk
- Confirm grommet options work with your desk's material composition
- Document existing surface conditions before installation
The Long-Term Value Equation
When benchmarking hexagon desk setups, I apply strict return-risk ratings that factor in three often-ignored costs:
- Fit failure cost: Time and shipping fees for returns
- Workflow disruption cost: Productivity loss during reconfiguration
- Aesthetic mismatch cost: Additional purchases needed to unify visual language
A premium six-sided desk accessory that costs 20% more but eliminates these hidden expenses delivers superior fit-per-dollar value. This isn't about cheap solutions, it is about calculating total cost of ownership across your expected usage lifespan.
Your tolerance notes should be as detailed as your product specs. That 3mm clearance mistake taught me to treat measurement verification as non-negotiable as power requirements.
Final Configuration Principles
The most successful ergonomic hexagon layouts share these characteristics:
- Corner-adaptive accessories that accommodate 60-degree internal angles
- Modular components with verified upgrade paths to next-tier equipment
- Dimensional transparency where every measurement serves an ergonomic purpose
- Renter-resilient mounting that protects surfaces while maintaining stability
Stop accepting "close enough" fits that create workflow friction. When configuring your hexagon desk setup, remember that ergonomics isn't just about comfort, it is about creating a precision instrument that eliminates microscopic inefficiencies accumulating into major productivity drains.
Ready to validate your specific hexagon configuration? Download my free clearance calculator spreadsheet that cross-references over 200 accessory dimensions against standard hex desk geometries. It includes tolerance bands for common manufacturing variances and upgrade path projections for your next gear refresh cycle, because the smartest investment is avoiding returns before they happen.