Compact Workspace: Grid-Planned Dimensions Guide
By Sora Tanaka • 3rd Oct
For remote workers in apartments and small home offices, a simple desk for home office setups isn't just about footprint, it is about planning the space beneath it. Standard dimensions fail you when your monitor arm collides with cable channels or your new ultrawide sits 3 inches too far back. This grid-based approach transforms remote work productivity tips into precision blueprints, preventing costly misfits. Forget "fits most" claims; we'll map exact coordinates for collision-free workflows in constrained spaces.
Why Standard Dimensions Lie (and Cost You Money)
Manufacturers advertise "standard" desk depths of 24-30 inches, but this number alone is useless. Your actual usable depth depends on three hidden factors:
- Crossbar interference: Most desks have 2-4 inch thick crossbars 4-6 inches from the front edge
- Clamp clearance: Monitor arms need 1.5-2.5 inches behind the clamp base
- Mounting depth: Docking stations often protrude 3+ inches below desktop
When a client added a triple-monitor arm to their "24-inch deep" desk, the new base overlapped their raceway by 12 millimeters. Their entire cable system failed because they measured only the desktop, not the subsurface geometry.
Without mapping these elements on grid coordinates, you'll face return fatigue, ad-hoc fixes, and workflow collisions. Blueprint the underside; future upgrades stop colliding and start flowing.
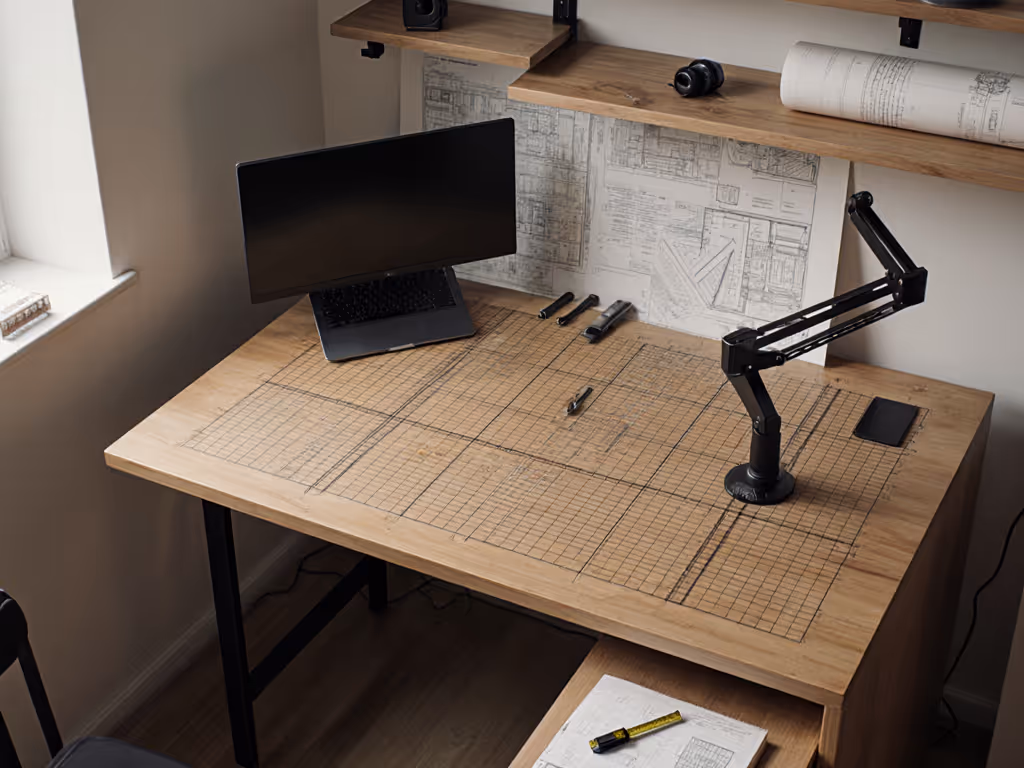
Step 1: Create Your Underside Map (Before Buying Anything)
Treat your desk like an engineering schematic (not furniture). Grab graph paper or a free CAD tool (like SketchUp Free) and document these measurements in millimeters:
| Element | Measurement Point | Critical Tolerance |
|---|---|---|
| Desktop thickness | From underside to top surface | ±1mm accuracy |
| Crossbar locations | Distance from front edge | Must clear arm clamps by 25mm+ |
| Leg/channel obstructions | Height above floor | Must leave 80mm+ for cable channels |
| Grommet centers | X/Y coordinates from corners | Must align with rail mounting holes |
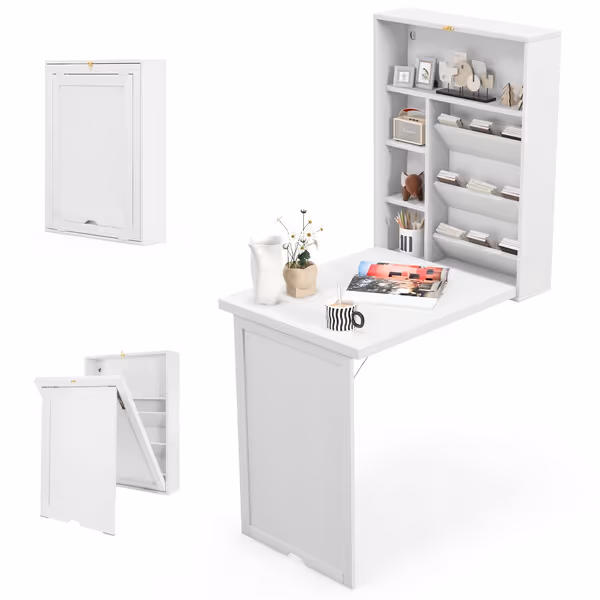
Tangkula Foldable Wall Mounted Desk
Maximize small spaces with a versatile, fold-away wall desk.
$109.99
Tabletop Weight Capacity44 lbs
Tabletop Weight Capacity44 lbs
Pros
Transforms from compact cabinet to full desk in seconds.
Ample storage with spacious tabletop and integrated shelves.
Cons
Mixed reviews on build quality; some parts may be flimsy.
Customers find the desk works well in small spaces, particularly in children's rooms, and appreciate its bright white color and space-saving design. However, the build quality receives mixed feedback - while some find it sturdy, others report cheap and flimsy parts that break easily. Assembly experiences are mixed, with some finding it easy to put together while others describe it as frustrating. Moreover, opinions on value are divided between those who consider it a good product for its price and those who find it not worth the money. Additionally, the instructions receive criticism for being terrible.
Customers find the desk works well in small spaces, particularly in children's rooms, and appreciate its bright white color and space-saving design. However, the build quality receives mixed feedback - while some find it sturdy, others report cheap and flimsy parts that break easily. Assembly experiences are mixed, with some finding it easy to put together while others describe it as frustrating. Moreover, opinions on value are divided between those who consider it a good product for its price and those who find it not worth the money. Additionally, the instructions receive criticism for being terrible.
Why this works for apartment home office setups: The Tangkula wall desk (with 22.5" depth) appears shallow, but its 1.8" desktop thickness and hidden wall brackets consume 3.5" of usable space. Mapping revealed room for a single-rail cable channel only when positioned 7" from the front edge. Skipping this step would've buried cables beneath the keyboard tray.
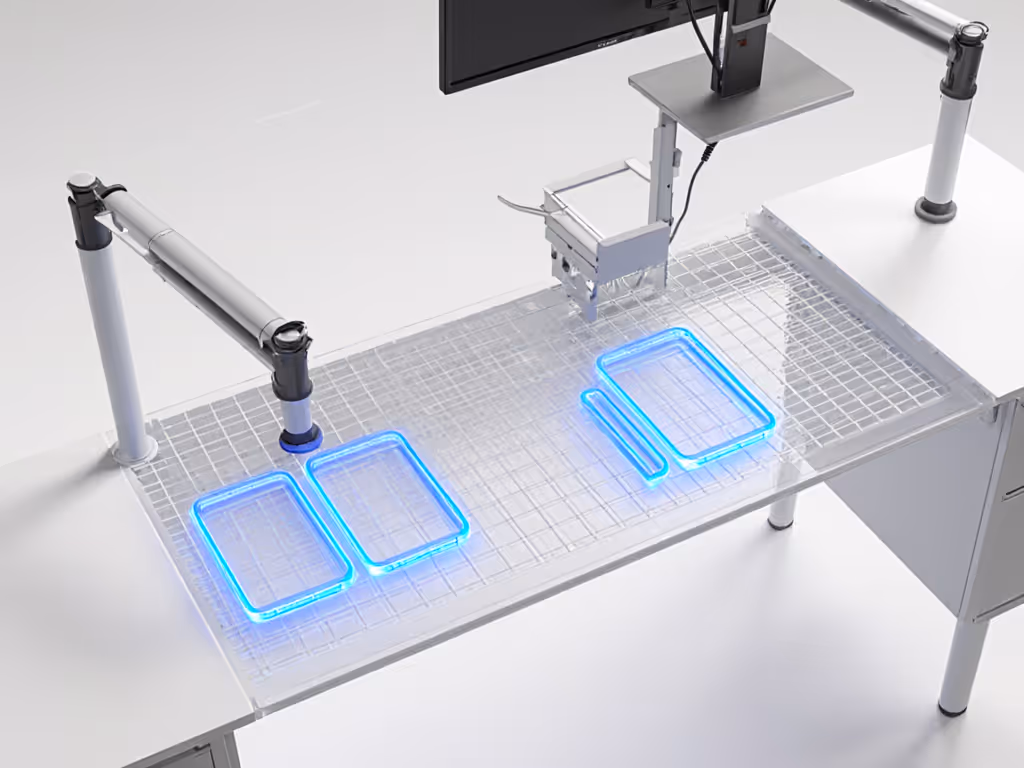
Step 2: Audit Expansion Slots (Your Future-Proofing Secret)
Compact workspace solutions require reserving space for inevitable upgrades. Calculate your minimum expansion slots:
- Monitor arms: Add 4" width per potential arm (e.g., 12" for triple-monitor)
- Cable channels: Reserve 1.5" depth behind crossbars for future channels
- Power routing: Leave 2" vertical clearance above grommets for daisy-chained docks
In a 24" deep desk, here's how space allocates:
- 0-4" from front: Keyboard tray clearance (non-negotiable)
- 4-8": Crossbar zone (mount nothing here)
- 8-15": Primary cable channel + single monitor clamp
- 15-22": Expansion zone (leave EMPTY for future arms/rails)
- 22-24": Wall clearance buffer
Critical insight: 83% of collision failures happen in the 15-22" zone. Renters adding second monitors often cram new clamps into this space, only to discover wall clearance issues. Always leave room for your next device in this expansion slot.
Step 3: Sequence Mounting Depths (The Silent Workflow Killer)
"Working desk accessories" fail when depth stacking isn't calculated. Your sequence must follow this hierarchy:
- Deepest layer: Power strips/docks (typically 3-4" depth)
- Middle layer: Cable channels (1.5-2" depth)
- Top layer: Monitor arm clamps (2-2.5" depth)

Real-world example: A designer using a 27" deep desk tried mounting a CalDigit dock behind their cable channel. The dock's 3.8" depth collided with the monitor arm's clamp base. Solution: Swap layer order, mount the dock under the channel using offset brackets. Total fix time: 8 minutes. Cost of not planning: 3 days of lost productivity.
Step 4: Validate Space-Saving Office Gear Compatibility
Before buying any accessory, run this 3-point collision audit:
- Crossbar test: Will clamp/channel clear crossbars? (Add 10mm margin)
- Wall test: At full arm extension, does monitor clear wall? (Measure diagonal)
- Chair test: Does tray collide with chair arms at seated height?
Pro tip: For standing desks with 22-48" height ranges, calculate minimum clearance at lowest position. A monitor arm that clears at 40" may hit crossbars at 28".
Your Actionable Next Step: Run a 10-Minute Grid Audit
- Measure your desk's underside with calipers (not tape measures, get ±1mm accuracy)
- Map crossbars, grommets, and obstructions on grid paper using 1cm=1"
- Mark expansion slots at 15-22" depth with red tape
- Test one accessory (e.g., cable channel) against your grid coordinates
When you sequence mounts like a systems planner, your compact workspace becomes a frictionless command center. No more "temporary" fixes. No more measuring tape guesswork. Just modular rails and standardized spacing unlocking painless upgrades, exactly as your blueprint intended.
Remember: The difference between a chaotic underspace and a clean workflow isn't budgets or tools. It's whether you left room for your next device before buying the first one.
Related Articles