Forget aesthetic tours or vague "fits most" promises. When your working desk accessories collide with your work-specific office gear, productivity crashes harder than untested code. I've seen too many developers dismantle their setups after buying monitor arms that hit crossbars, keyboard trays that block drawers, or cable channels that vanish under monitor bases. The solution is not buying more. It is blueprinting first. By mapping your desk's grid coordinates and running collision audits before purchasing, you'll transform uncertainty into precision. Leave room for your next device by designing for expansion slots from day one.
The Collision Audit: Your First Line of Defense
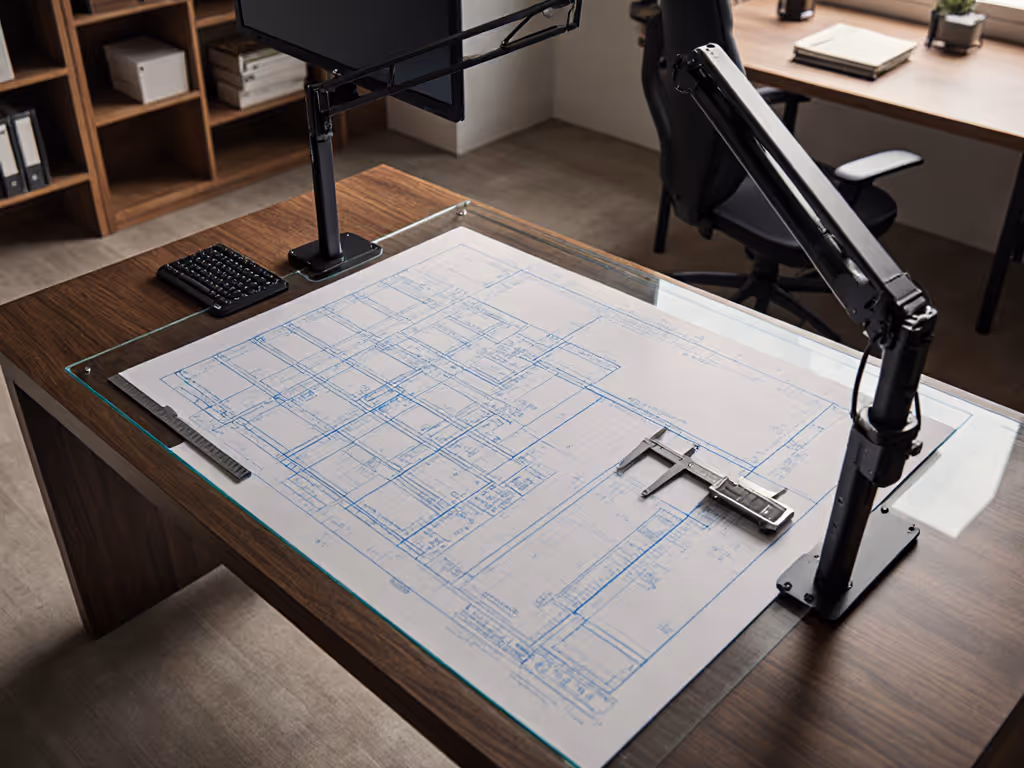
Before eyeing any developer desk setup accessory, run a collision audit. Measure every millimeter of your desk's underside, especially thickness, crossbar locations, and leg clearance. Record mounting depths for all potential accessories (monitor arms: 45-75mm; cable channels: 20-35mm; keyboard trays: 30-50mm). For dimension-verified picks and install tips, see our best cable management systems. On a recent project, a client's triple-monitor upgrade failed because the new arm base overlapped their raceway by precisely 12mm, a gap standard product specs never disclosed.
Accessory Type (monitor mount, cable channel, etc.)
Required Clearance Depth (from manufacturer specs or verified measurements)
Existing Obstructions (crossbars, grommets, power strips)
Vertical Clearance Zone (space between desk underside and chair arms)
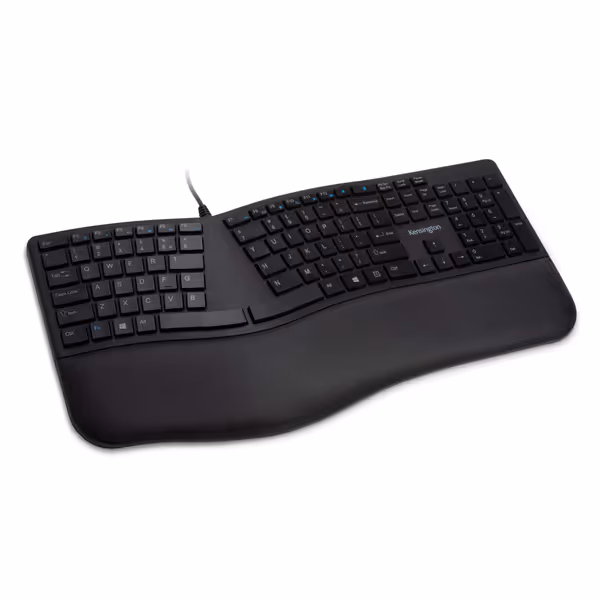
This audit exposes hidden conflicts between your intended industry-specific office tools. For keyboard trays, factor in the Kensington Pro Fit Ergo's 1.5-inch height. Without this data, you might choose a tray that scrapes chair armrests. Never assume "standard" dimensions; document actual measurements. Your collision audit becomes the foundation for a modular system that scales.
Kensington Pro Fit Ergonomic Wired Keyboard
Ergonomic wired keyboard for quiet, comfortable, and spill-proof productivity.
Supports neutral hand alignment with an integrated wrist rest.
Quiet keys for distraction-free typing.
Cons
Key responsiveness and spacing receive mixed user feedback.
Customers appreciate the keyboard's quiet operation and excellent quality, noting its soft touch under fingers and comfortable typing experience. The responsiveness receives mixed feedback - while some find it extremely responsive, others report keys being too hard to press. The key spacing is also mixed, with some saying they're in the right place while others find them too close together. Additionally, customers report issues with keys sticking, particularly the shift key after a few months of use.
Customers appreciate the keyboard's quiet operation and excellent quality, noting its soft touch under fingers and comfortable typing experience. The responsiveness receives mixed feedback - while some find it extremely responsive, others report keys being too hard to press. The key spacing is also mixed, with some saying they're in the right place while others find them too close together. Additionally, customers report issues with keys sticking, particularly the shift key after a few months of use.
Mapping Your Underside: Grid Coordinates Over Guesswork
Transform your desk's underside into a measurable coordinate system. Start with a tape measure and grid paper (or CAD software). Mark 50mm increments across the desk width and depth, creating a grid that aligns with your monitor's center point. Label axes: X for left-right position, Y for front-back depth, Z for height from desk surface.
When planning a writer's workspace essentials layout, I prioritize Z-axis clarity. Cable channels typically require 25-30mm clearance beneath the desk surface. Monitor arms need 60-80mm for tilt/swivel. If your desk is only 22mm thick (common on budget standing desks), standard grommet-mounted arms become impossible. They require 28mm minimum. This is where modular rail systems shine; they distribute mounting depth across the rail rather than demanding clearance at one point.
Document each accessory's footprint in grid squares:
Monitor arm base: 4x3 squares (200x150mm)
Under-desk power strip: 2x1 square (100x50mm)
Cable raceway: 1x5 squares (50x250mm)
This grid mapping prevents the "will it fit?" panic. When clients ask about dual-monitor setups on shallow desks, I check their Y-axis clearance against arm reach specifications. A 32-inch ultrawide often needs 350mm of front-back space. That is impossible on desks under 650mm deep. Plan your grid before committing to hardware.
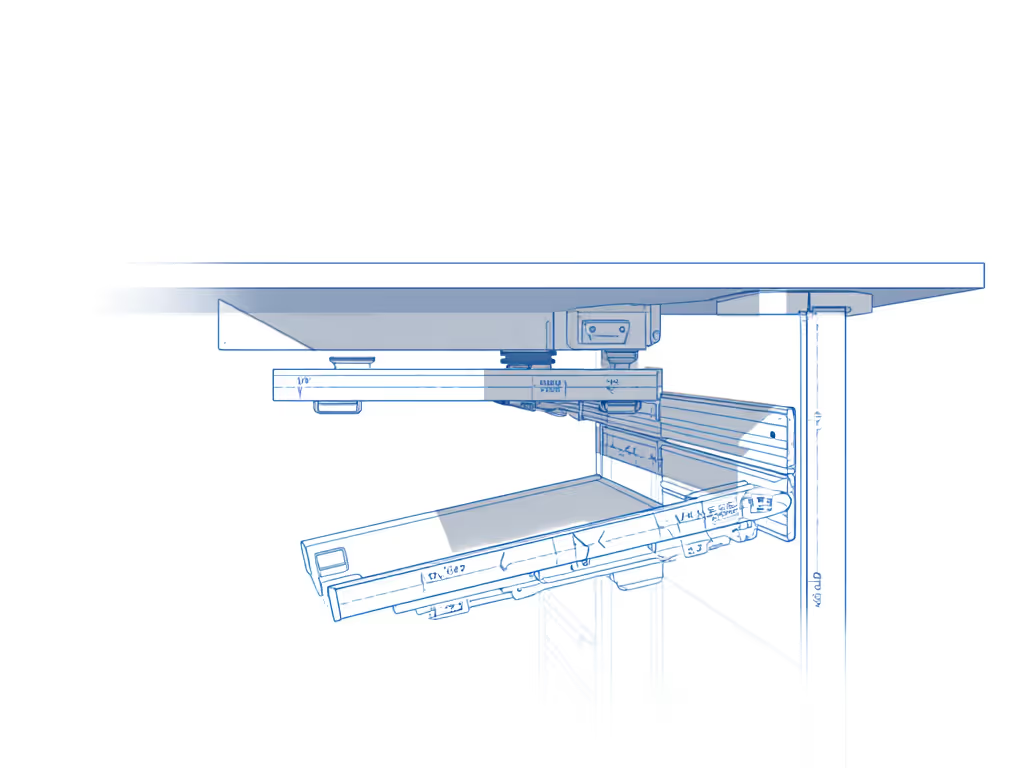
Modular Rail Systems: The Anti-Collision Framework
Forget one-off mounts. Modular rails are your collision-proofing backbone. Unlike fixed clamps or single-point mounts, rails distribute weight and offer standardized positioning. I favor systems with 25mm hole spacing (the metric equivalent of 1-inch grids). This creates predictable expansion slots for future accessories.
When retrofitting a client's desk, I calculate rail length based on worst-case scenarios:
For example, adding a second monitor to a 32-inch primary display requires at least 800mm of rail (1600mm total width ÷ 2 + 150mm). If your desk has a 50mm crossbar 200mm from the front edge, position the rail to straddle it. Never center the rail on the bar, as this eliminates expansion slots on one side.
This systems approach solves core frustrations in office desk accessories planning. Rails with published mounting depths (like T-Track systems specifying 18mm profile height) let you calculate exact clearances. When space is tight, I rotate rails 90 degrees along the desk's short axis. This creates vertical expansion slots for future cable management without eating front-back depth.
Future-Proofing Through Expansion Slot Accounting
Your blueprint isn't complete until you've reserved expansion slots. Every installation must leave room for one logical upgrade: a thicker cable channel, wider monitor arm, or added power strip. I deduct 25% of rail length from immediate needs. This becomes "future buffer" space.
For developer desk setup planning, consider these common upgrade paths:
Current Setup
Likely Next Step
Required Buffer Space
Single monitor
Ultrawide transition
150mm rail extension
Basic cable ties
Modular raceway
20mm vertical clearance
Fixed monitor arm
Articulating arm
40mm depth increase
Calculate buffer space using actual accessory specs. Switching from a single 27-inch to 49-inch ultrawide requires 180mm more rail length (49" panel = 1100mm width vs 27" = 600mm). Without this foresight, you'll repeat the cycle of returns and re-mounting.
When clients ask about "temporary" solutions, I show them the math: replacing a $30 single-point clamp with a $120 modular rail now saves $95 in return shipping and labor later. True cost efficiency comes from systems that absorb change.
Your Actionable Blueprint Next Step
Tonight, measure your desk's underside and create a grid map. Use painter's tape to mark 100mm increments along the front and side edges. Photograph this grid with a ruler visible, then overlay accessory footprints using free CAD tools like SketchUp Free. Run your collision audit against three planned upgrades, say, adding a second monitor, switching to a mechanical keyboard, or installing under-desk lighting.
Blueprint the underside; future upgrades stop colliding and start flowing. Leave room for your next device by reserving 25% of your rail capacity before installation. Whether you're optimizing a writer's workspace essentials layout or engineering a multi-monitor developer rig, this grid-based approach eliminates fit guesswork. Tomorrow morning, you'll open your browser knowing exactly which industry-specific office tools will fit, without returns, regrets, or rework.
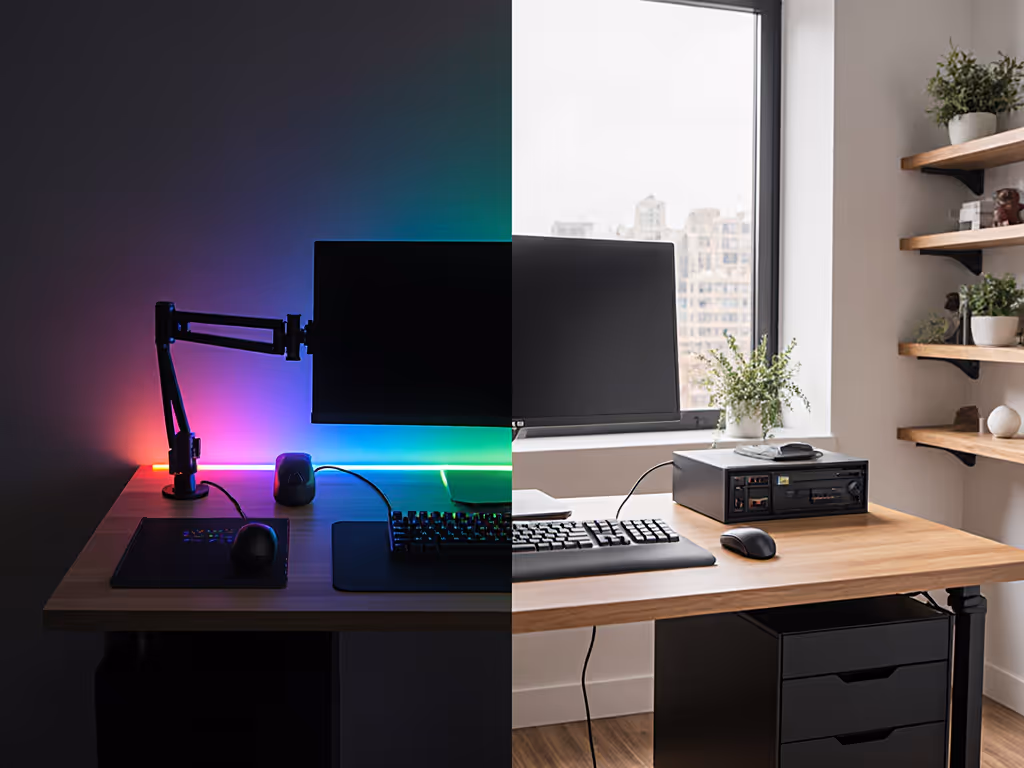
Skip the RGB trap and choose gear that actually fits: measure real clearances, demand hinge radii and clamp tolerances, and map collision zones before you buy. Compare “gamer” vs “pro” accessories on fit performance to avoid wall, crossbar, and tray collisions.
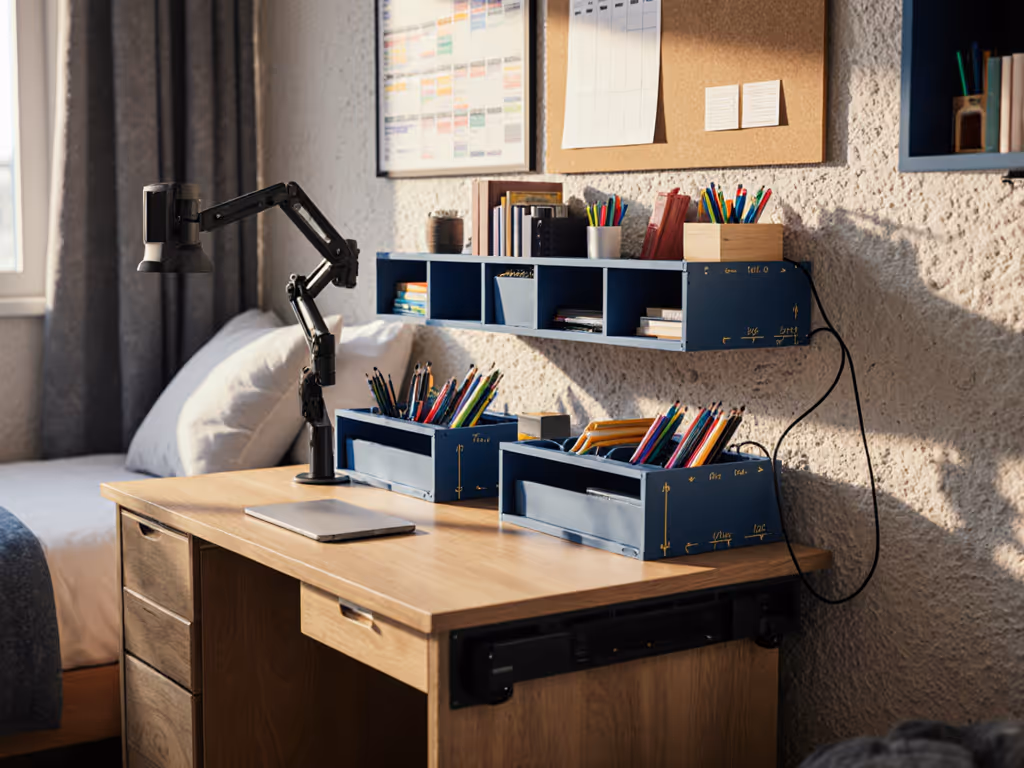
Map your dorm desk’s exact dimensions and collision zones before shopping to prevent returns and cable clutter. Use the 20-minute, 4-step fit map and checklist to choose organizers and mounts that truly fit, protect walls, and stretch a student budget.
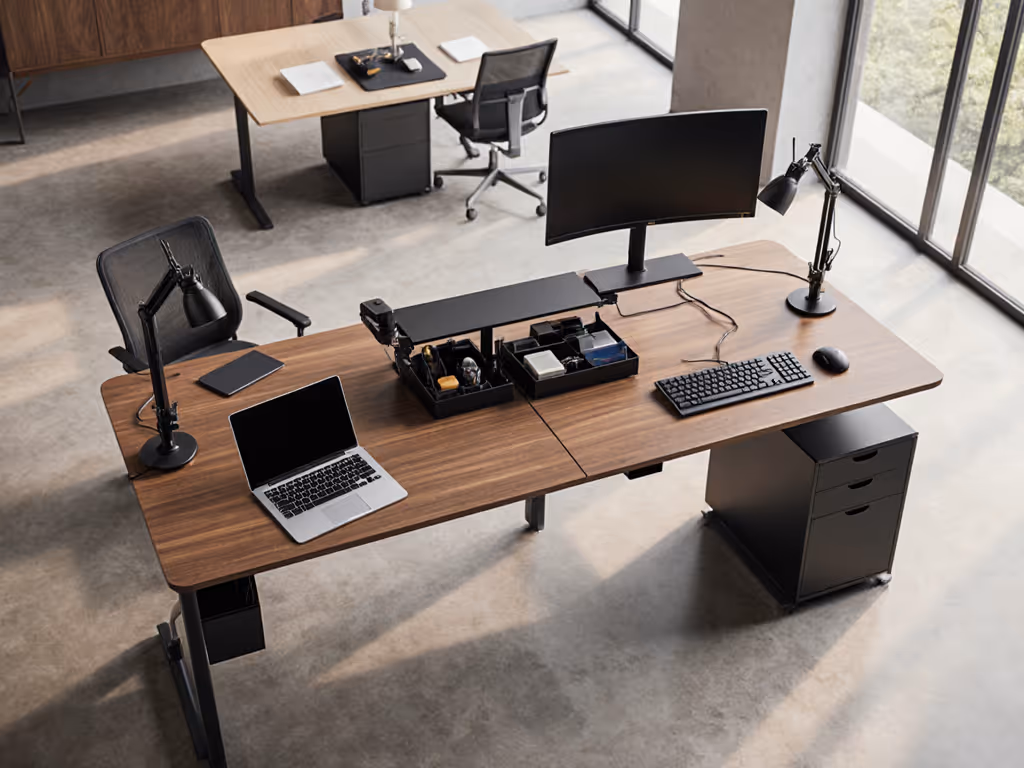
Optimize two workstations by mapping reach arcs, knee clearance, and monitor distance, then choosing modular, clamp-ready accessories that match your specs. Get a 5-minute audit checklist, renter-safe cable routing tips, and a quick clearance swap to reduce strain and improve posture.
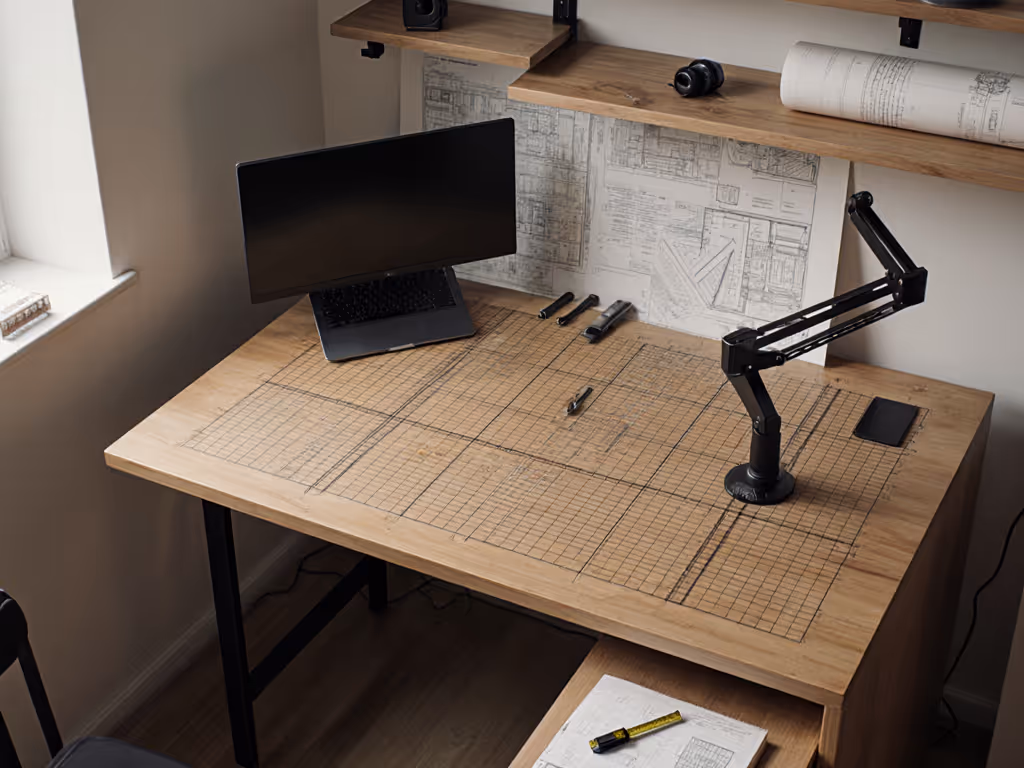
Blueprint the underside with a simple grid to calculate real usable depth, prevent clamp and cable collisions, and reserve expansion slots for future gear. Use precise measurements and a quick 10-minute audit to build a compact, upgrade-ready workspace without trial-and-error or returns.