Student Desk Organizers: Dorm-Proof Setup Guide
By Priya Menon • 7th Oct
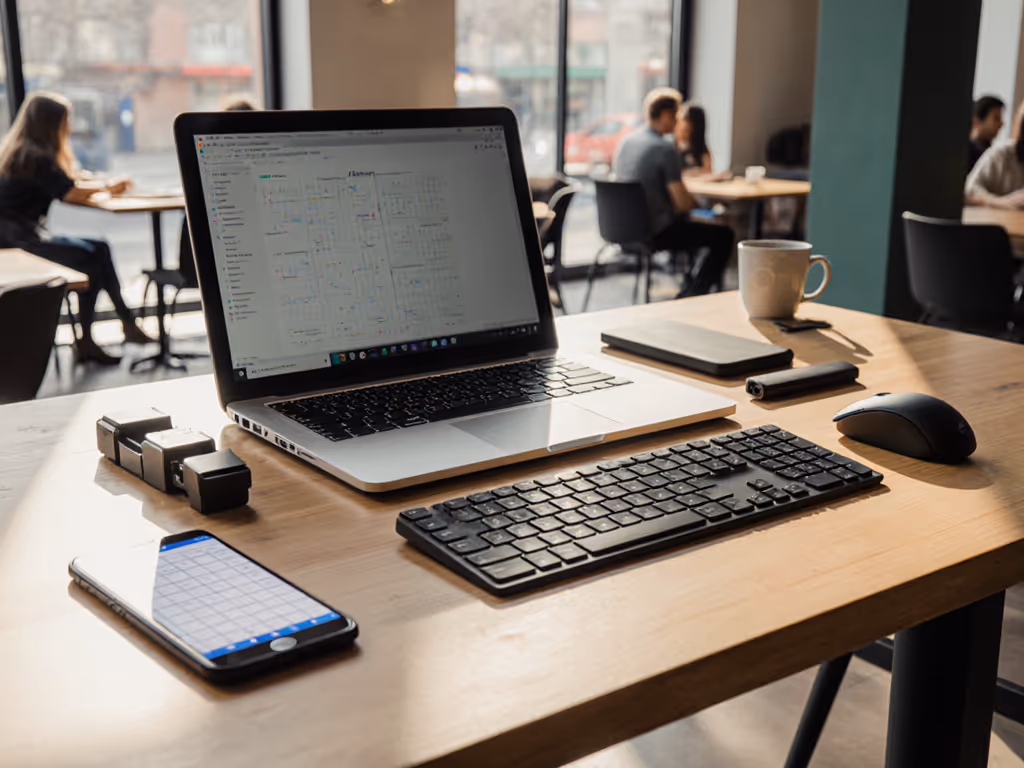
Forget generic dorm decor lists. If your desk setup feels chaotic or keeps forcing returns, you're missing one critical step: mapping your desk's physical constraints before buying any office desk accessories or work office essentials. Industry data confirms students own 8-12 devices, each demanding space, power, and organization. But cramming in dorm desk essentials without measuring guarantees cable chaos, workflow collisions, and wasted cash. Let's fix that.
Why Your Dorm Desk Setup Keeps Failing (Spoiler: It's Not You)
That $25 cable organizer you returned? The monitor mount that hit the wall? The drawer organizer that blocked your chair? These aren't accidents: they're symptoms of unmapped space. Dorm desks average 24-28" deep, yet most clamp mounts need 2" of overhang. Without verifying your desk's exact dimensions and clamp zones, you're gambling with budget student organizers.
Map your desk before your cart. This one shift prevents 90% of returns.
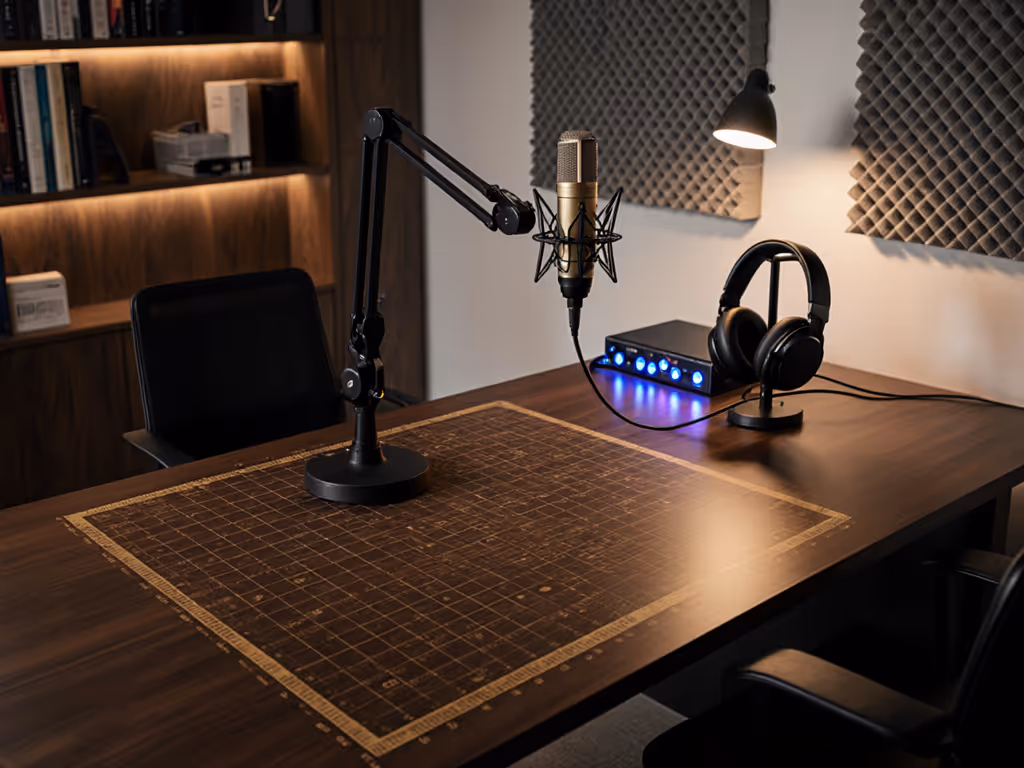
When I moved into my first rental, I learned this the hard way. My "dream" clamp mic arm required a 2" overhang my desk lacked. Instead of another return, I sketched a simple fit map marking safe zones and clamp limits. Suddenly, every purchase, from cable trays to monitor stands, just worked. Let's create your version.
Your 4-Step Dorm Desk Fit Mapping Tutorial
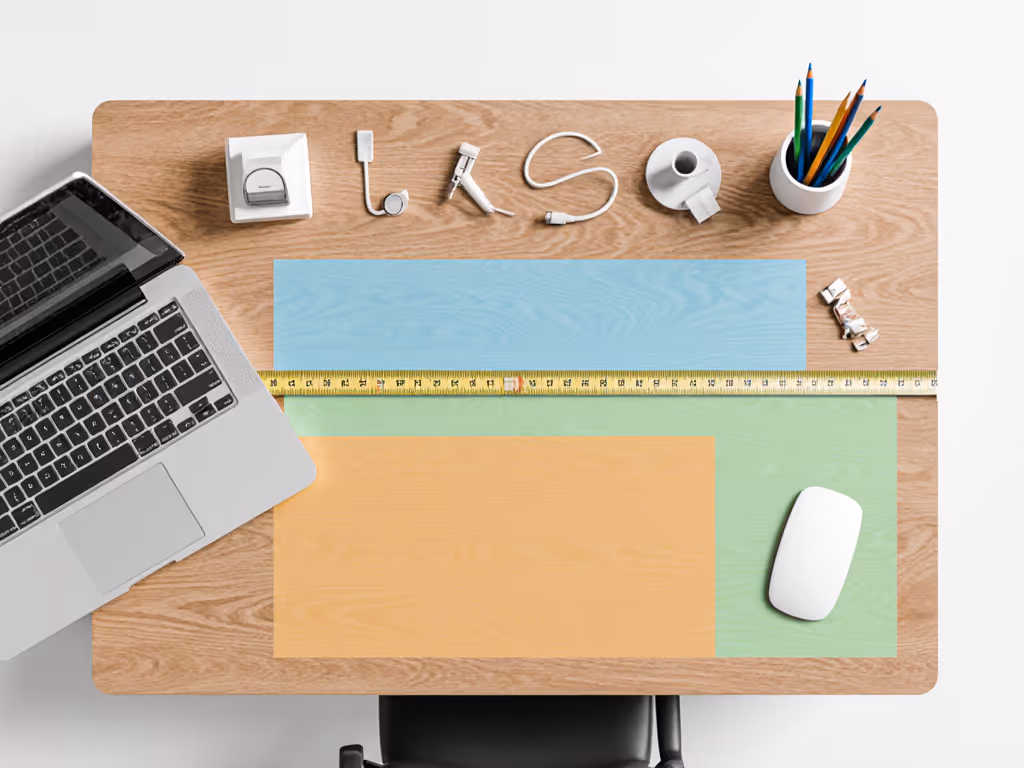
Step 1: Measure Your Desk's True Footprint (Not the Brochure Specs)
Grab a tape measure and record these actual dimensions, not what the manufacturer claims. Dorm desks warp, have uneven edges, or have hidden crossbars:
- Depth: Measure from the front edge to the back edge at three points (left, center, right). Standard dorm desks range 24"-28", but yours might be 22" where your chair sits.
- Thickness: Critical for clamp mounts! Measure desk thickness where you'll mount arms or trays. Most need 0.5"-2" clearance. Renter-safe note: If <0.75", skip clamps, use under-desk adhesive mounts instead.
- Crossbar Clearance: Slide your hand under the desk. Is there a support bar? Measure its height from the desk underside. If <3", avoid under-desk trays because they will hit the crossbar.
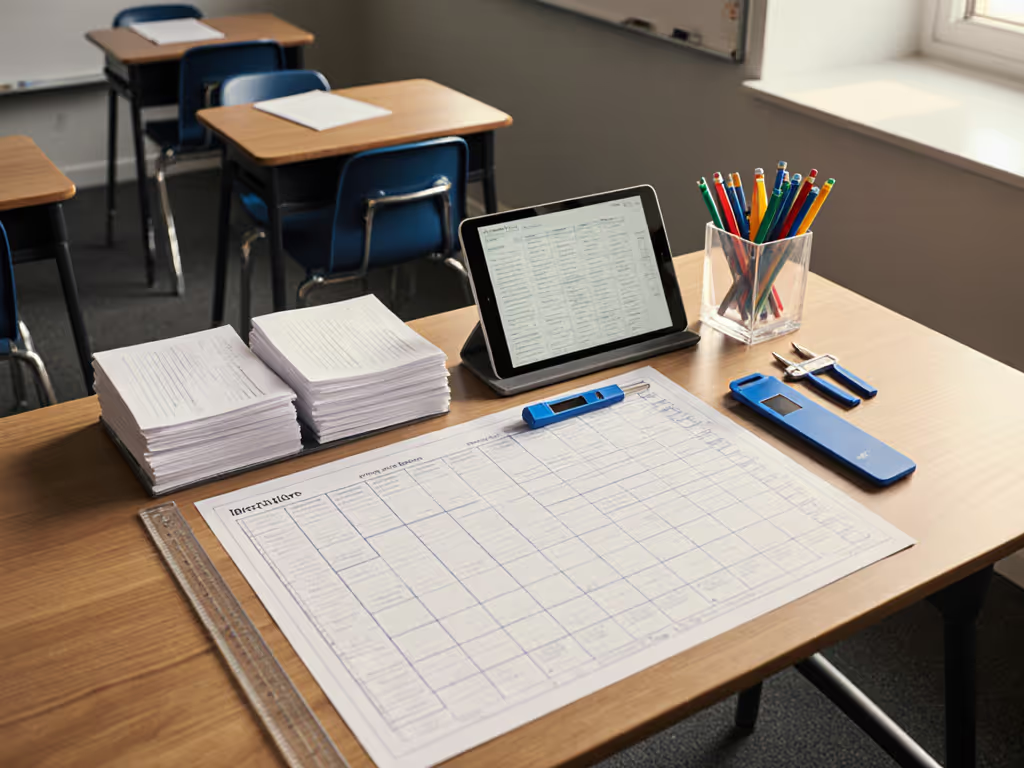
Pro Tip: Sketch a top-down "starter map" with these measurements. Mark zones:
- Zone A (Front 3-5"): Safe for adhesive cable clips or monitor risers (no clamp needed)
- Zone B (Center 6-12"): Clamp territory only if depth >24"
- Zone C (Back 2-4"): Keep clear for chair arms and cable routing
Step 2: Identify Your "Collision Points"
Your desk isn't empty. It is a collision course for monitors, mic arms, and chair arms. Prevent workflow disasters by mapping these:
- Chair Arm Clearance: Sit in your chair. Note where your arms rest. Anything mounted here (keyboard trays, monitor stands) will hit your elbows. Leave 3-4" of clear space.
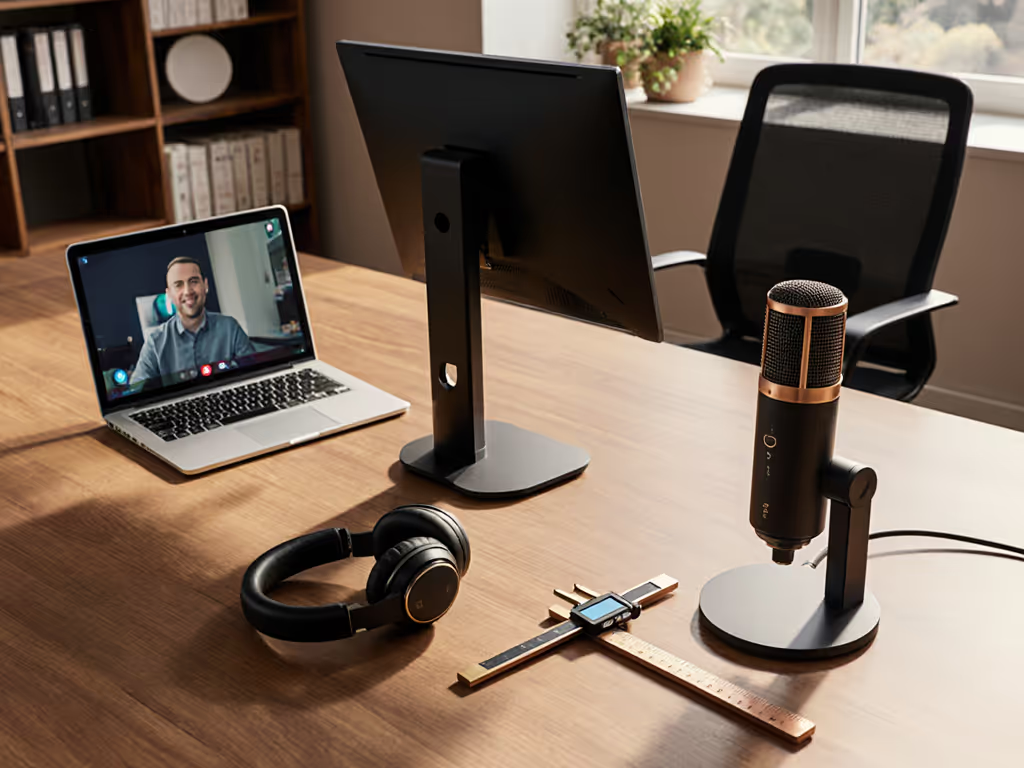
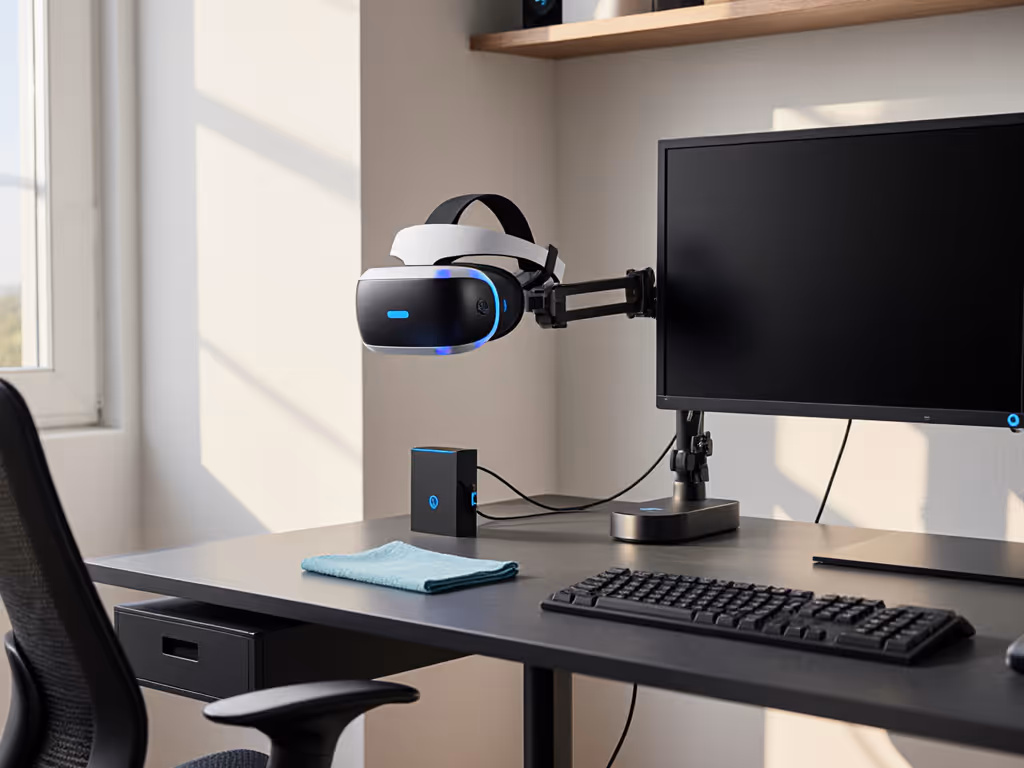
- Wall Proximity: Measure from the back edge of your desk to the wall. If <18", avoid long monitor arms since they will hit the wall at full extension.
- Power Access: Trace all power strips and outlets. Map where cords exit your desk. Aim to keep cables within 6" of these paths to avoid messy snaking.
Upgrade Note: If adding a second monitor later, ensure your depth map shows 32"+ clearance for dual 24" screens at 20" viewing distance. Ultrawides need 36"+.
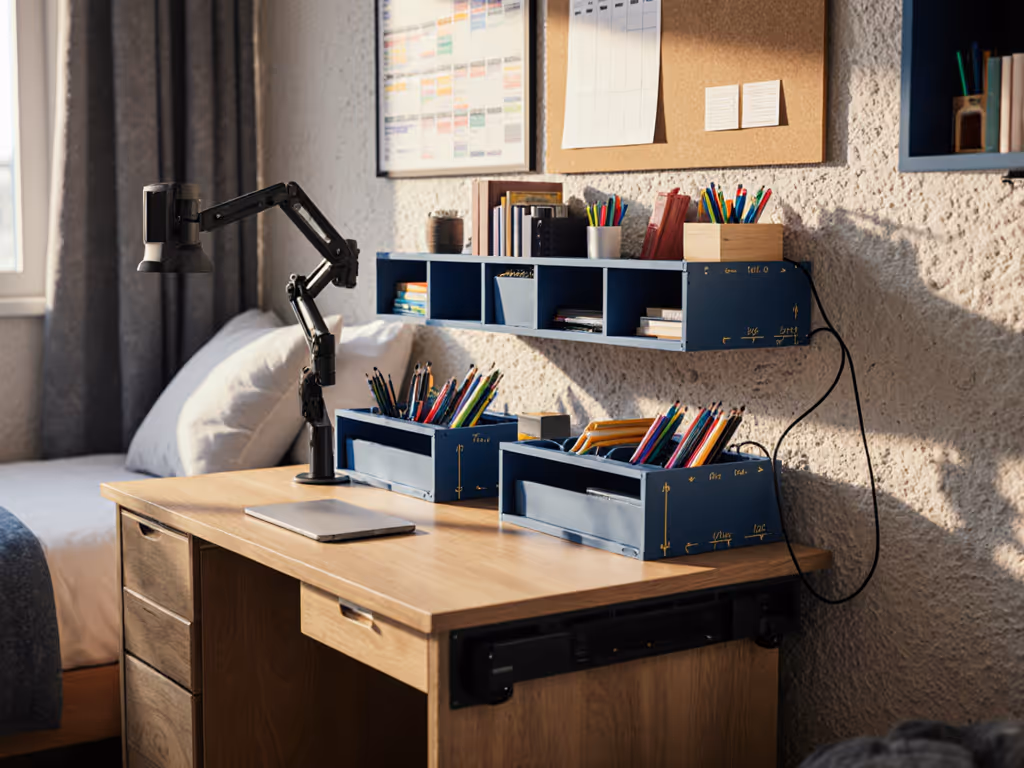
Step 3: Zone Your Cable & Accessory Workflow
Dorms have limited under-desk space, so waste none. Use your starter map to assign zones:
- Cable Zone (Left/Right Sides): Use adhesive cable clips (not binder clips, they peel paint!) to route cords vertically. No-drill option: Wrap cords with velcro straps every 6" and secure to desk legs with rubber bands.
- Power Zone (Back Center): Place power strips where cords naturally fall. For a dimension-first comparison of trays, raceways, and renter-safe kits, see our best cable management systems. Hide them in a fabric pouch clipped to the desk underside with a Command hook.
- Daily Use Zone (Front Edge): Reserve for 1-2 items: a monitor riser or laptop stand. Not both. If depth <26", skip risers, use a book stack instead.
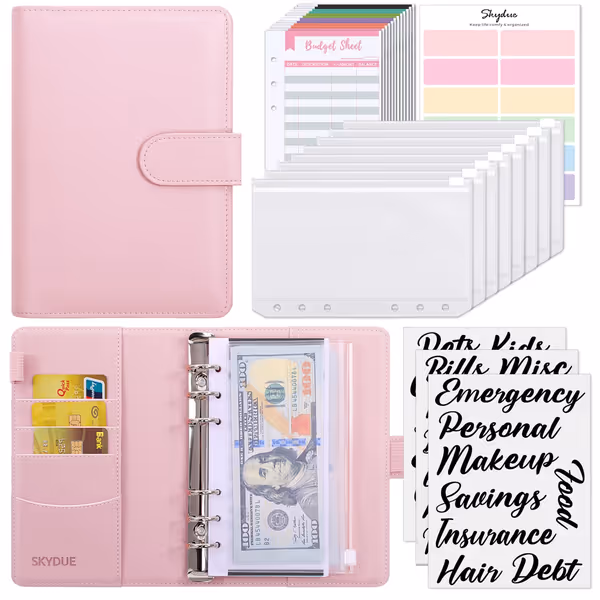
SKYDUE Budget Binder
Budget, save, and organize cash effortlessly.
$7.58
Binder SizeA6 Standard
Binder SizeA6 Standard
Pros
Comprehensive budgeting kit for easy tracking & saving.
Durable, stylish PU leather with secure zipper envelopes.
Cons
Cash envelopes are A6 size, may be small for some currencies.
“Great quality, surprisingly good stickers, and helps couples save easier. Stylish while budgeting!”
“Great quality, surprisingly good stickers, and helps couples save easier. Stylish while budgeting!”
Budget Hack: A color-coded budget binder (like SKYDUE's with category stickers) becomes your "desk command center." Assign pockets to receipts, flash drives, or charging cables. Measured benefit: At 7.5" x 5.3", it fits perfectly in Zone A without overhanging.
Step 4: Validate Your Budget Student Organizer Shortlist
Now, and only now, shop for dorm desk essentials. Cross-check every item against your map:
- For desk organizers: Ensure depth <= your Zone A width (e.g., '10" tray' = danger if Zone A is 8").
- For monitor mounts: Arm reach must be <= (desk depth - 6"). An arm with 16" reach fails on a 22" deep desk.
- For cable management: Clip height + cord bulk must be < crossbar clearance. If crossbar is 2.5" high, avoid clips >1".
Red Flag: 'Fits most desks' claims. If it doesn't specify 'exact' clamp depth/thickness requirements, skip it. True work office essentials state: 'Requires 1.5"-2.5" desk thickness.'
The Dorm Desk Setup Checklist That Actually Works
Before buying any college study setup item, verify these:
- ✅ Clamp Compatibility: Does your desk thickness match the product's minimum requirement? (Not maximum!)
- ✅ Clearance Buffer: Product depth <= (your Zone B width - 2"). Example: 12" tray needs 14"+ zone.
- ✅ Future-Proofing: If adding a second monitor, does the mount support 2x the weight? (Dual 24" screens = 20+ lbs)
- ✅ Renter Safety: Adhesive mounts must specify 'removable without residue' (e.g., 3M Command strips)
- ✅ Budget Alignment: Cost <= 15% of your total desk setup. No $50 luxuries for $200 desks.
Your Move: From Chaos to Calm in 20 Minutes
Stop scrolling through dorm desk organizer lists. Grab a tape measure and paper. In 20 minutes, you'll create a plain-language measurement blueprint that:
- Eliminates 90% of return risks
- Turns 'budget student organizers' into strategic investments
- Makes school office supplies enhance your workflow, not clutter it
Your desk isn't a generic rectangle. It is a unique ecosystem with constraints and opportunities. Map it. Own it. Then, and only then, let your cart get involved.
Map your desk before your cart. It is not just advice, it is the only way to build a setup that grows with you, without wasting money on returns or temporary fixes.
Next step: Grab graph paper and plot your desk's footprint using the zones above. Notice where your chair, wall, and power outlets create "no-go" areas. This is your foundation for every future purchase.