Working Desk Accessories for Dual Workspace Success
By Aisha Karim • 3rd Oct
When your primary and secondary workspaces fight for consistent comfort, the right working desk accessories become non-negotiable. For dual workspace solutions, it's not about hoarding gadgets, it's about selecting tools that honor your measurable reach arcs and clearances. As a non-clinical ergonomics facilitator who's audited hundreds of home offices, I've seen top performers achieve seamless transitions between locations by prioritizing dimensional harmony over brand hype. Comfort emerges when clearances match your natural reach arcs, every time.
Why Your Dual Workspace Keeps Failing (The Clearance Crisis)
Many remote workers buy the same accessories for both locations, only to face workflow collisions. That monitor arm works in your office but hits the wall in your apartment. Your keyboard tray binds against a center drawer, forcing your shoulders into a shrug-forward posture. I've chased wrist pain with pricey peripherals too, only to discover my tray clearance was 1.2 inches too deep, slicing into my natural elbow return zone. The fix? Mapping your body's spatial demands before purchasing anything.
This isn't about aesthetics. It's about measurable zones:
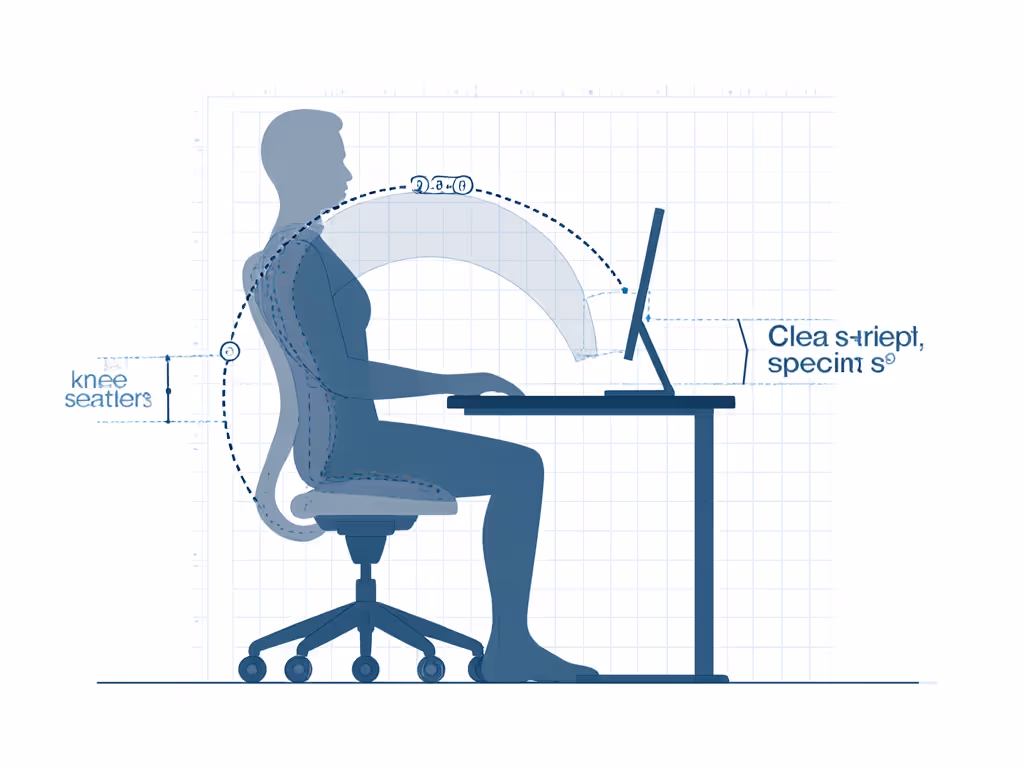
- The Reach Arc: Your elbow's natural swing radius (typically 14-18 inches from torso)
- Knee Clearance: Minimum 2 inches between desk underside and thighs when seated
- Monitor Pocket: Eye-to-screen distance (20-30 inches) at 15-20° downward tilt
Posture follows dimensions. When your accessories violate these zones, fatigue follows.
The Renter's Reality Check
If you're in a tight apartment, drilling walls isn't an option. Clamp mounts become your lifeline, but many fail because they ignore crossbar depth. Before buying anything, run this clearance test:
- Measure desk thickness (most clamps max out at 2.5 inches)
- Check crossbar interference (slide a ruler under desk; mark where legs/crossbars hit)
- Map your reach arc (sit in your chair, arms relaxed; trace where fingertips land)
One client standardized her NYC studio and upstate cabin using only clamp-based mounts after discovering her desk's rear crossbar was 1.8 inches thick, invalidating 70% of "universal" mounts she'd researched. This is why specs matter more than reviews.
Step 1: Build Your Clearance Blueprint (Before Buying Anything)
Tool: The 5-Minute Workspace Audit
Grab a tape measure and pen. In 300 seconds, you'll avoid costly returns:
- Desk Depth: Critical for monitor arms and trays. Action: Measure from front edge to wall/crossbar. Note where 24" begins (that's your ultrawide sweet spot).
- Under-Desk Real Estate: Height from floor to desk underside. Action: Sit, measure knee-to-desk clearance. Subtract 2" for movement buffer.
- Power Routing Path: Trace where cables must travel from outlets to devices. Action: Mark dead zones where cords would kink.
This isn't just measurement, it's dimensional insurance. One software engineer avoided a $200 arm return by discovering his rental desk's grommet hole was 1.75" diameter (most mounts need 2").
Step 2: Select Modular Accessories That Scale With Your Workflow
Forget "complete kits." Prioritize accessories with published dimension ranges that align with your blueprint:
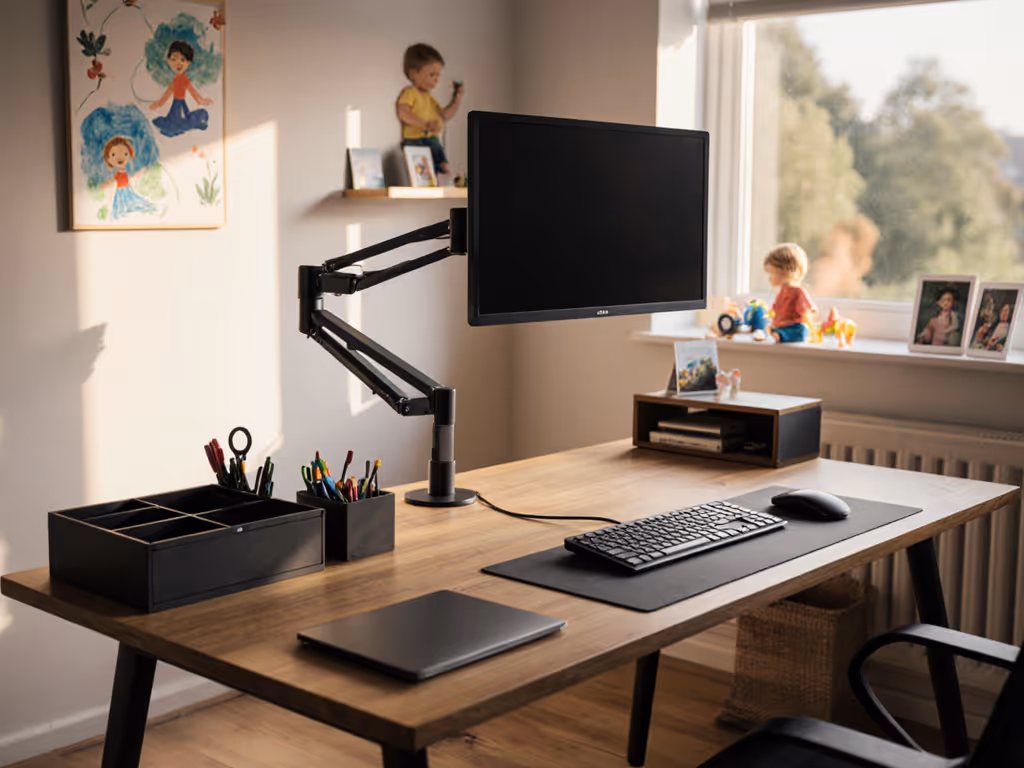
For Dual Monitors: The Clearance-First Mount
| Mount Feature | Risk if Ignored | Your Action |
|---|---|---|
| Minimum Depth | Arms hit wall on shallow desks | Confirm arm folds to < your desk depth minus 4 in. |
| VESA Range | Ultrawide compatibility fails | Match exact monitor model's VESA pattern (e.g., 100x100mm) |
| Tilt Range | Neck strain from fixed height | Require -15° to +15° minimum tilt |
A creator using identical arms in her home office and coffee shop workspace chose a model with 16-24 in. depth range. When she upgraded to a 40" ultrawide, she simply extended the arms, no new purchase needed. Consistent workspace setup means planning for known future states.
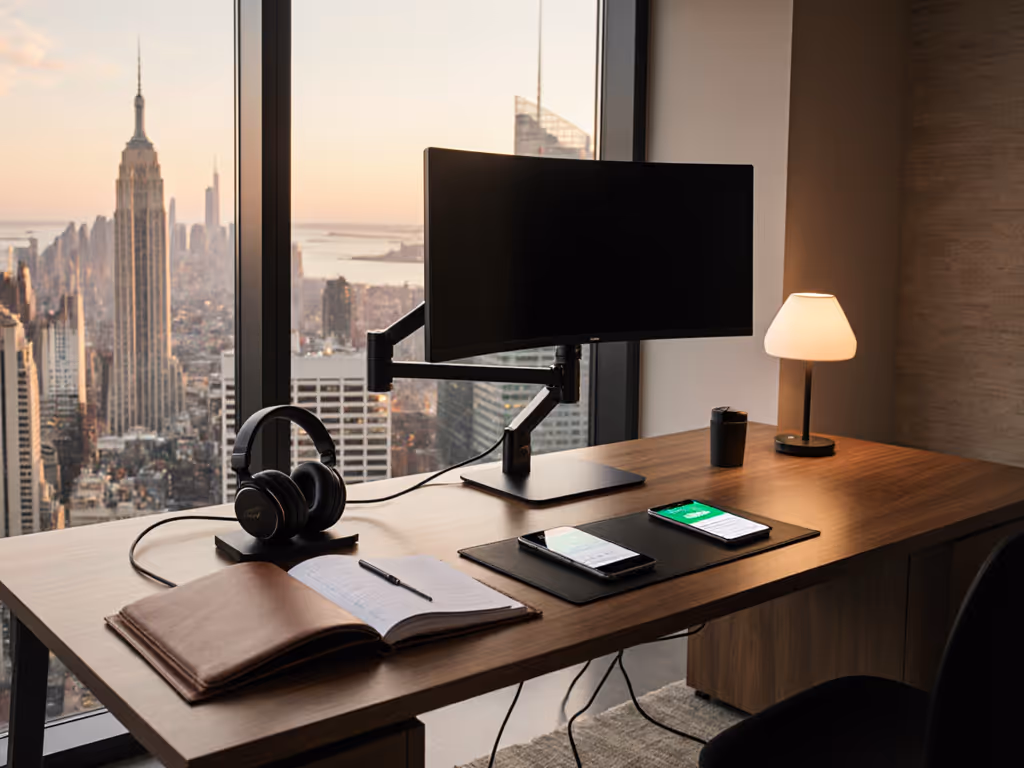
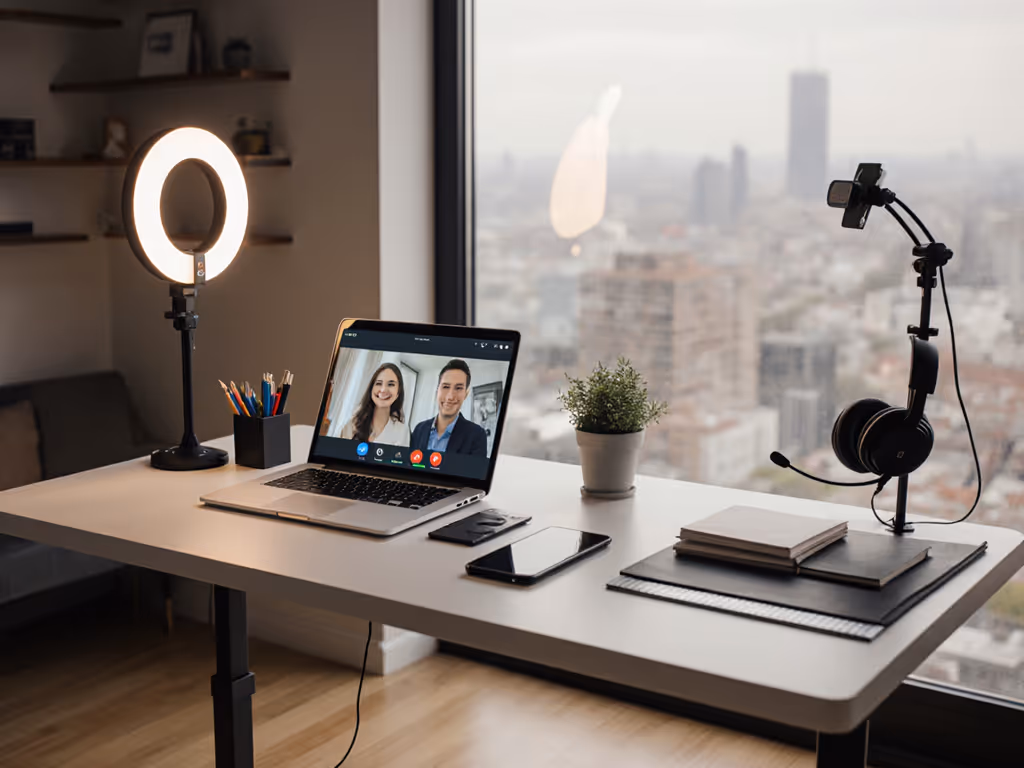
For Portable Consistency: Travel Desk Essentials
Renters and hybrid workers need mobile office gear that won't compromise ergonomics:
-
Laptop Stands: Must fold flat (<1") and adjust to your eye level. Avoid fixed-height stands, they force neck craning. Look for 4+ height positions within a 3" range. The Tonmom stand's 7-level adjustability (2.78"-6.5") lets you hit neutral posture on any desk, but verify its folded depth clears your bag's laptop sleeve.
-
Document Holders: Critical for dual-tasking (e.g., writing while referencing). Choose clamp-mounted units like the HIGHTIDE bookrest that attach to monitor arms, not desk surfaces. Why? They move with your screen geometry, maintaining consistent viewing distance. Its 6.9" width fits standard documents without encroaching on keyboard space.
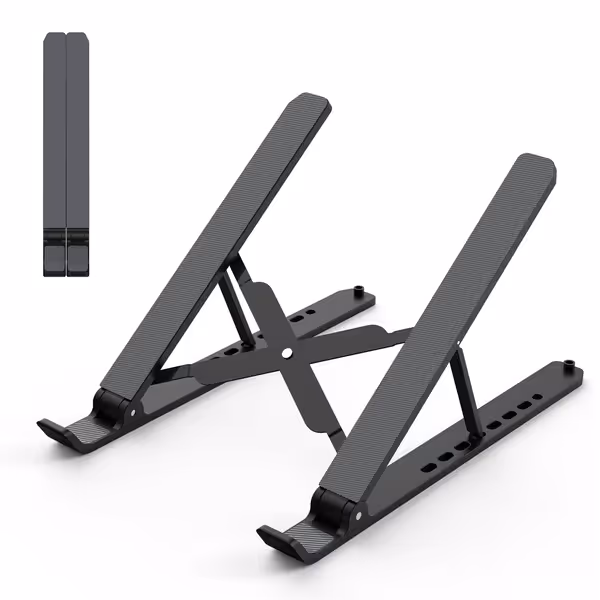
Adjustable & Portable Laptop Stand
Ergonomic, portable laptop stand prevents fatigue and improves airflow.
$7.58
Adjustable Height2.78” to 6.5” (7 levels)
Adjustable Height2.78” to 6.5” (7 levels)
Pros
Reduces neck/back pain and eye strain.
Portable, foldable, and lightweight for travel.
Cons
Some users report flimsiness/instability.
Customers find the laptop stand works well for elevating their devices and appreciate its portability, particularly for trips to and from the office. They like its lightweight design, adjustable height, and consider it good value for money. The stability and sturdiness receive mixed feedback - while some find it holds up well at every angle, others report it being less stable and flimsy.
Customers find the laptop stand works well for elevating their devices and appreciate its portability, particularly for trips to and from the office. They like its lightweight design, adjustable height, and consider it good value for money. The stability and sturdiness receive mixed feedback - while some find it holds up well at every angle, others report it being less stable and flimsy.
Step 3: Solve Cable Chaos Without Drilling
Renter-friendly cable management isn't about hiding wires, it's about creating clearance paths. Adhesives fail on particleboard; zip ties become trip hazards. Instead:
- Route Power Vertically: Use under-desk raceways (clamped to desk underside) to run cables down to floor outlets. This preserves knee clearance.
- Anchor Peripherals: The Peak Design Mobile Creator Kit's SlimLink tech lets you magnetically mount phones to monitor arms, no adhesives. Its 4.7" footprint slides cleanly into monitor arm grommets, keeping devices in your reach arc without cluttering desk surfaces.
One photographer reduced her coffee shop setup time from 8 minutes to 90 seconds by standardizing magnetic mounts. No more fishing cables through unfamiliar desks.
Your Actionable Next Step: The Clearance Swap
Don't buy another accessory until you've validated one clearance mismatch in your current setup. Tonight:
- Grab your tape measure
- Sit in your work chair
- Measure knee-to-desk clearance while typing
If it's under 2", that's your bottleneck. Swap your keyboard tray for a lower-profile model or raise your chair (using a footrest for support). This single adjustment aligns your reach arc with your desk's dimensions, proving posture follows dimensions.
True dual workspace solutions aren't built through identical gear. They're engineered through consistent clearances. Audit before you acquire, and your next purchase won't just fit your desk, it'll fit you.
Related Articles